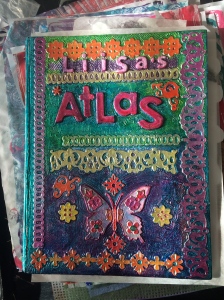
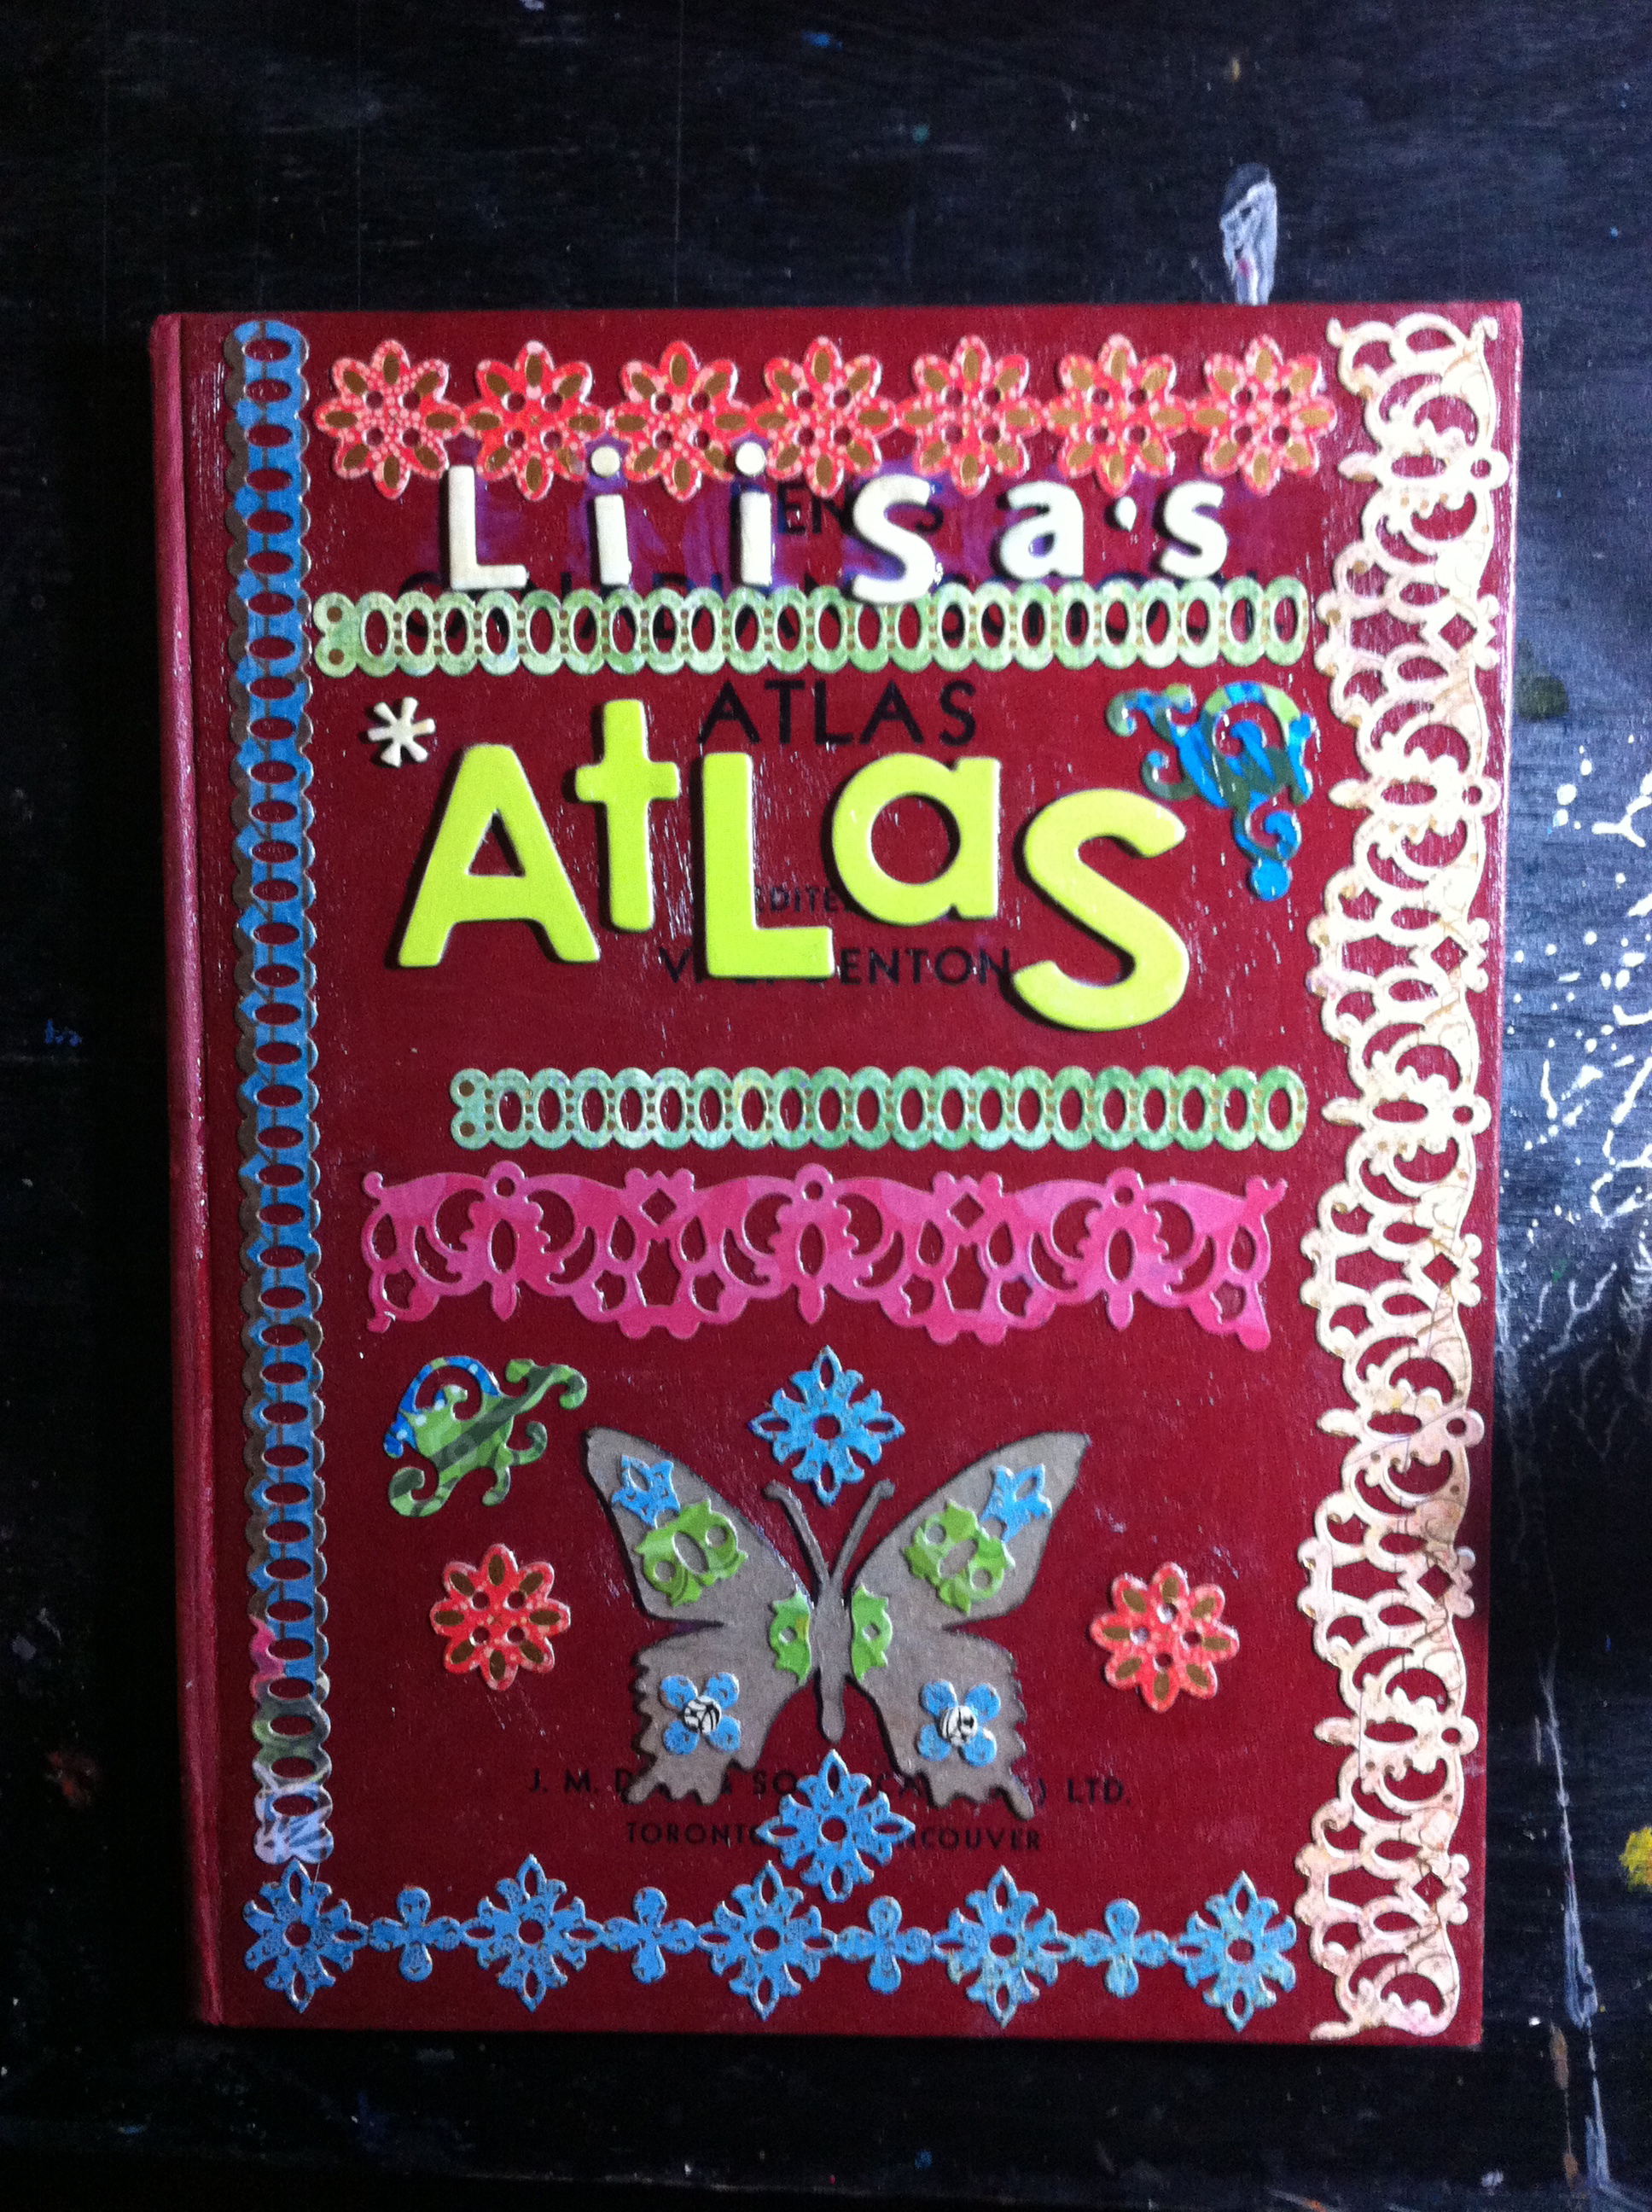
The finished front & back covers:
 Step 1: glue whatever thin cardboard decorative elements you want to the covers of
your book (I use acrylic medium for all the gluing in this project)
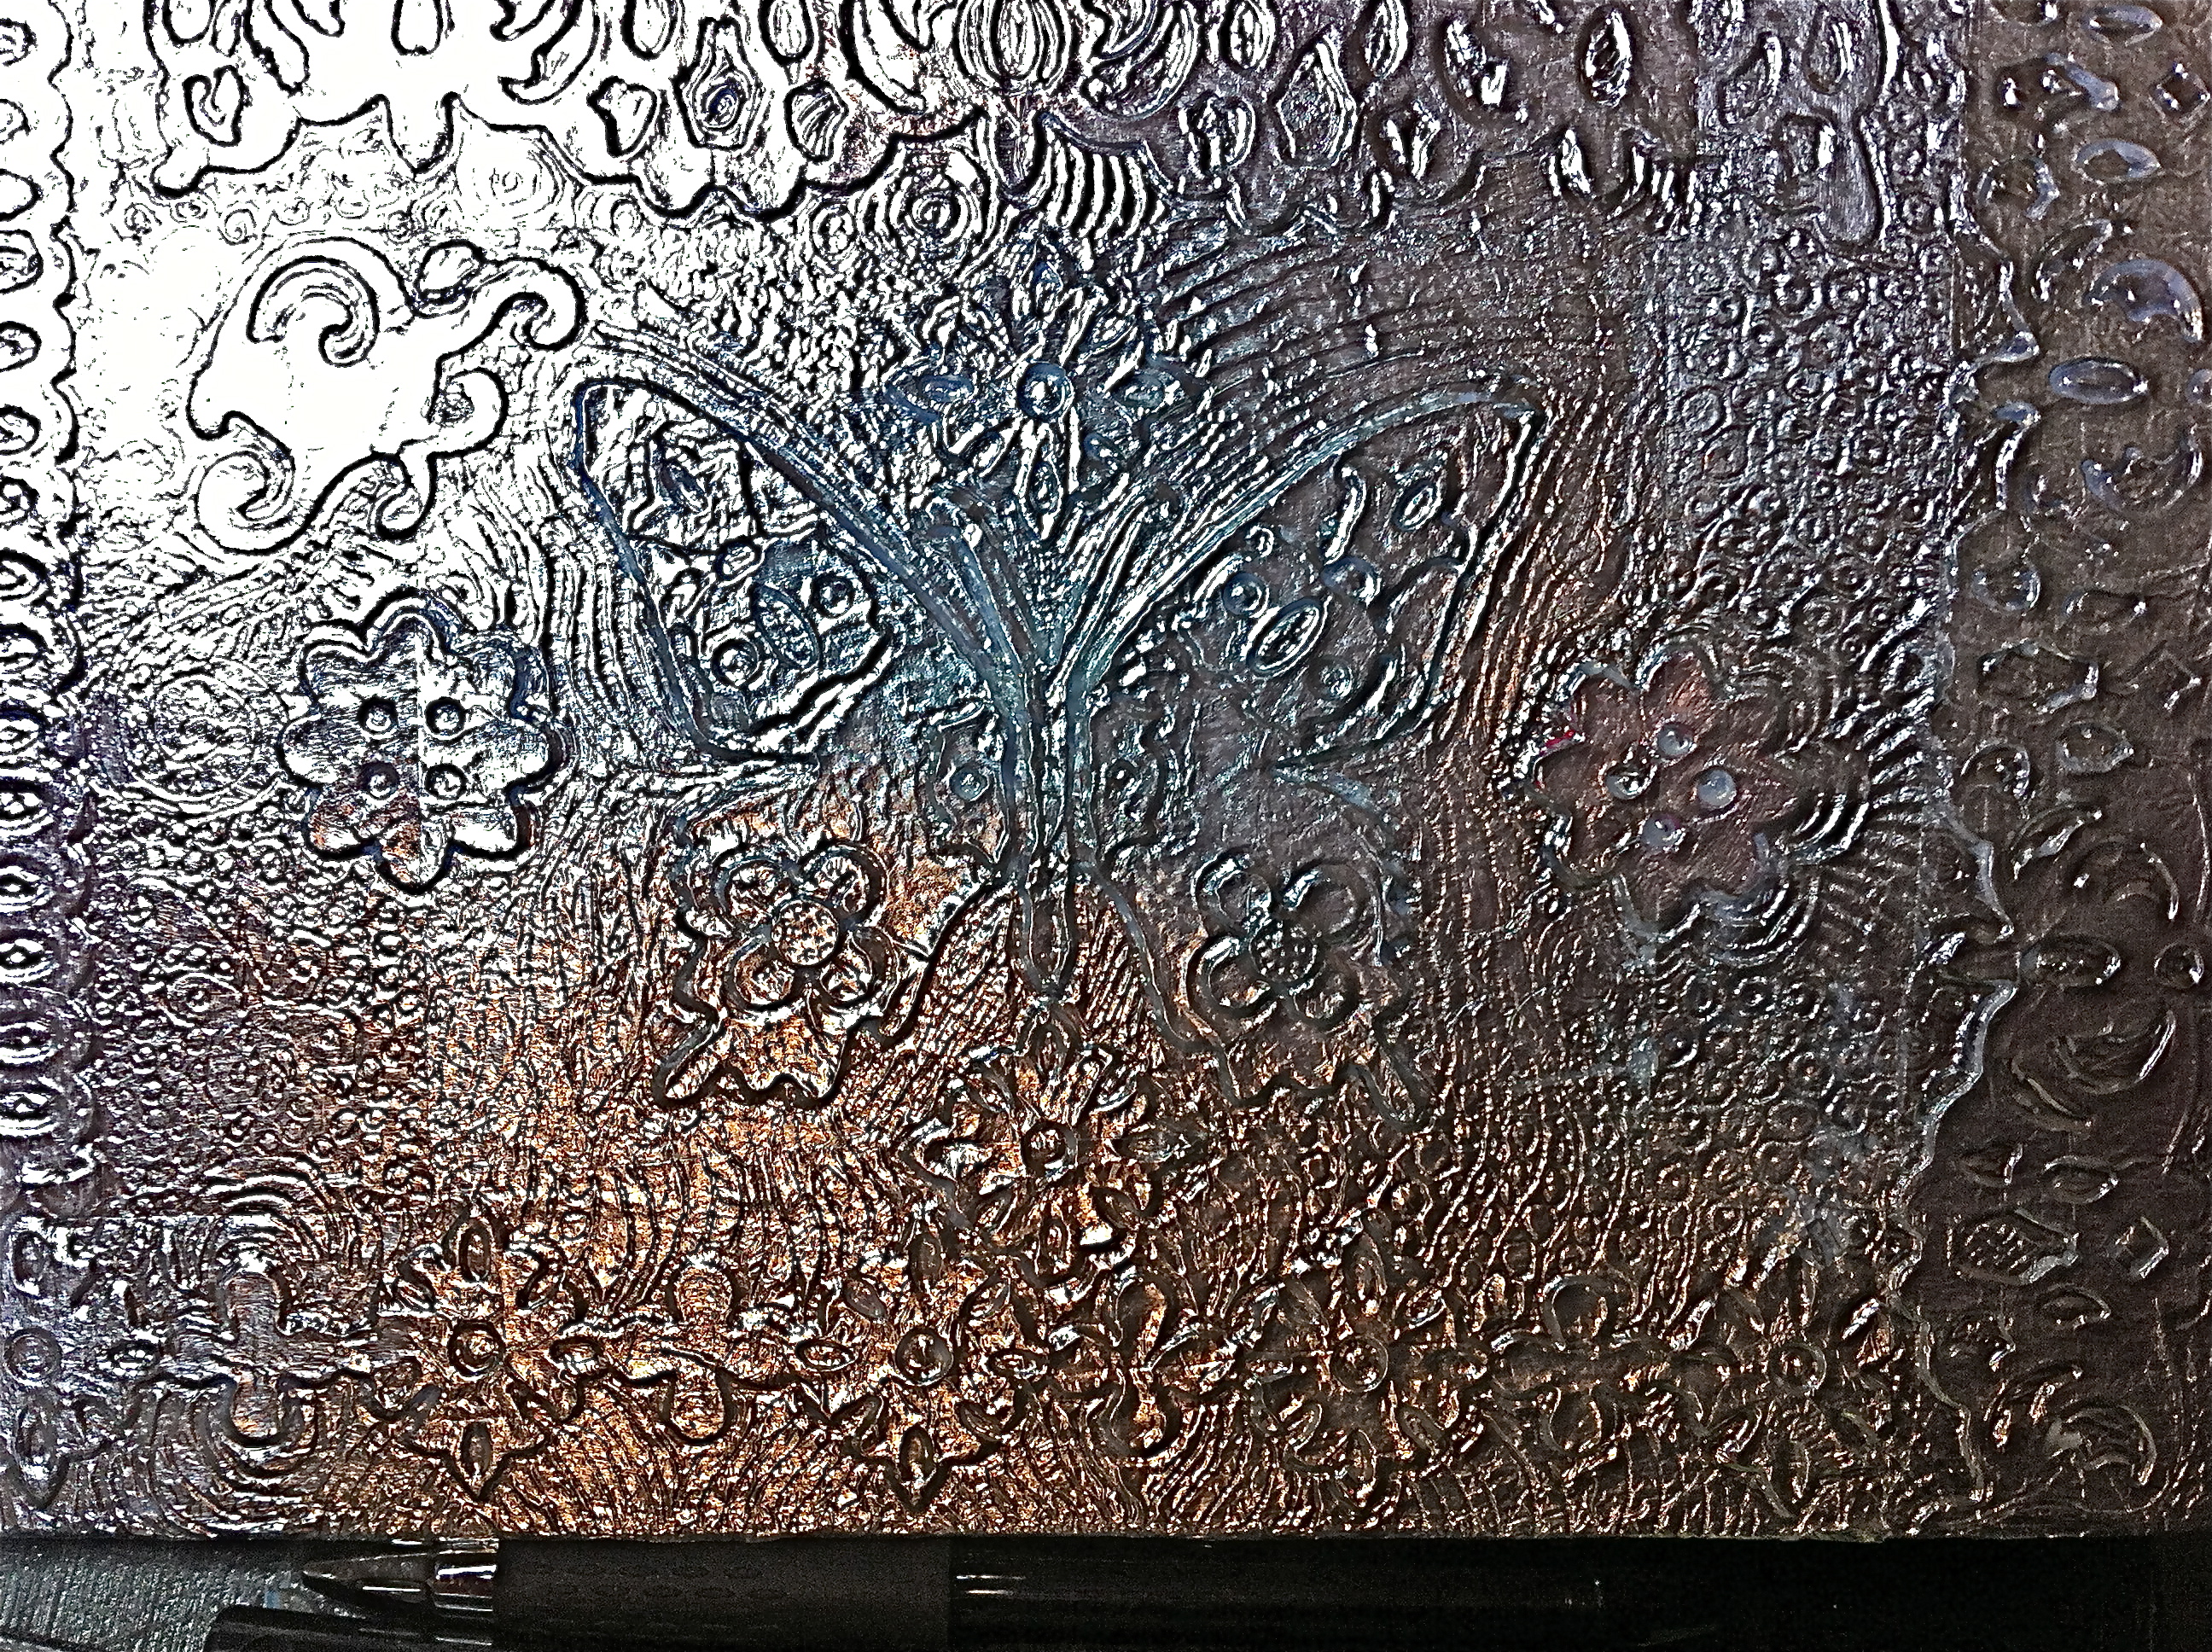
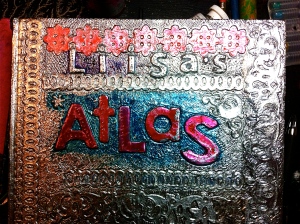
Step 2: glue heavy duty aluminum foil over the cover (I did it in pieces as it was too difficult to do the whole cover at once), and with an embossing tool gently press the foil into the decorative elements so you can see a crisp outline of the designs (do this while the acrylic medium is still wet).
Step 3: before the acrylic medium dries you can use a blunt tipped tool to add lines and textures in the flat areas around your decorative elements. Once you’re happy with it, add another coat of acrylic medium (this step is important so the ink adheres well to the foil).
Step 4: paint your cover with a transparent ink (that is waterproof & lightfast, like Dr. Ph. Martin’s for example) – this takes time to add many layers of ink if you want intense colours. When you’re done, coat the whole thing with some layers of gloss medium to make a durable finish. Now you have a unique cover for your altered book!