
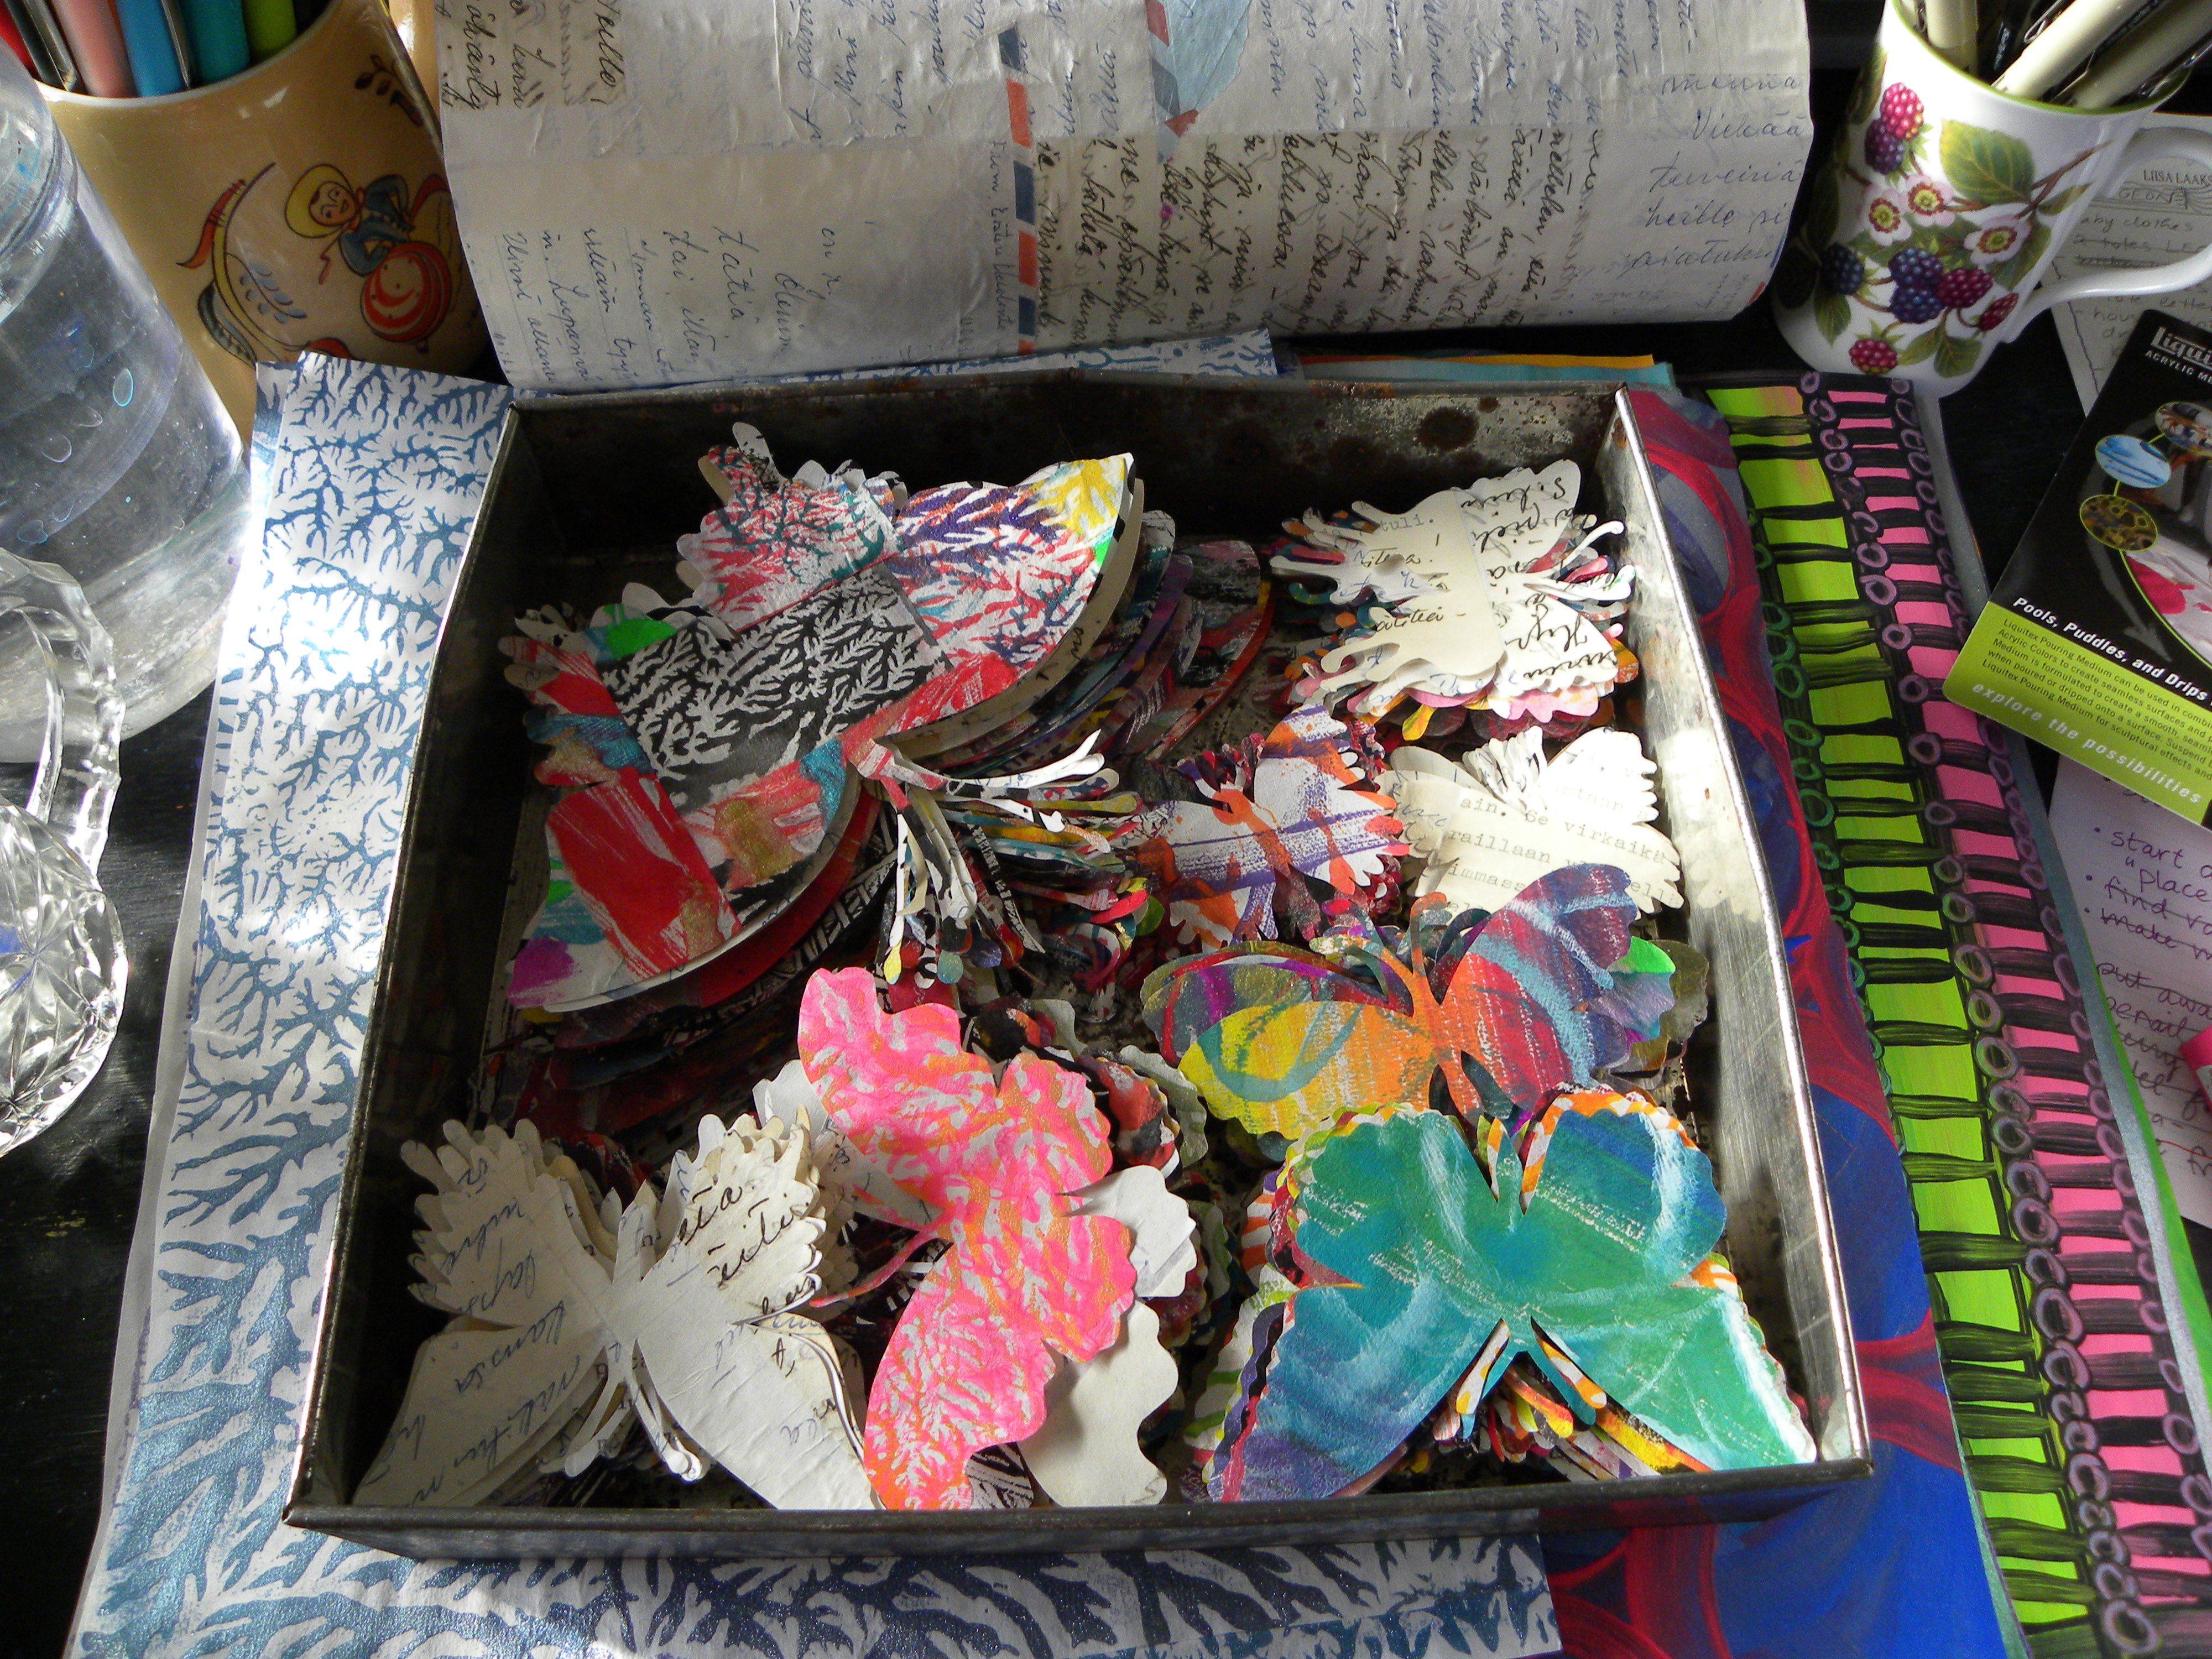
Well after 3 months of travelling and a move to Vancouver, my studio is unpacked and operational again- yay! My first project is a small commission- what a great way to get started again, I love making butterflies! And these ones are twice as fun since they are double-sided; they are going to be used to make a mobile.
Time for a new adventure!
 Wow, it’s empty! Nothing like packing up your studio to make you face your inner pack rat…. Next comes couch surfing, followed by some travels, then a move to Vancouver. But first my moving help arrives tomorrow morning so the final push is on….
A box of butterflies
Happy Solstice!

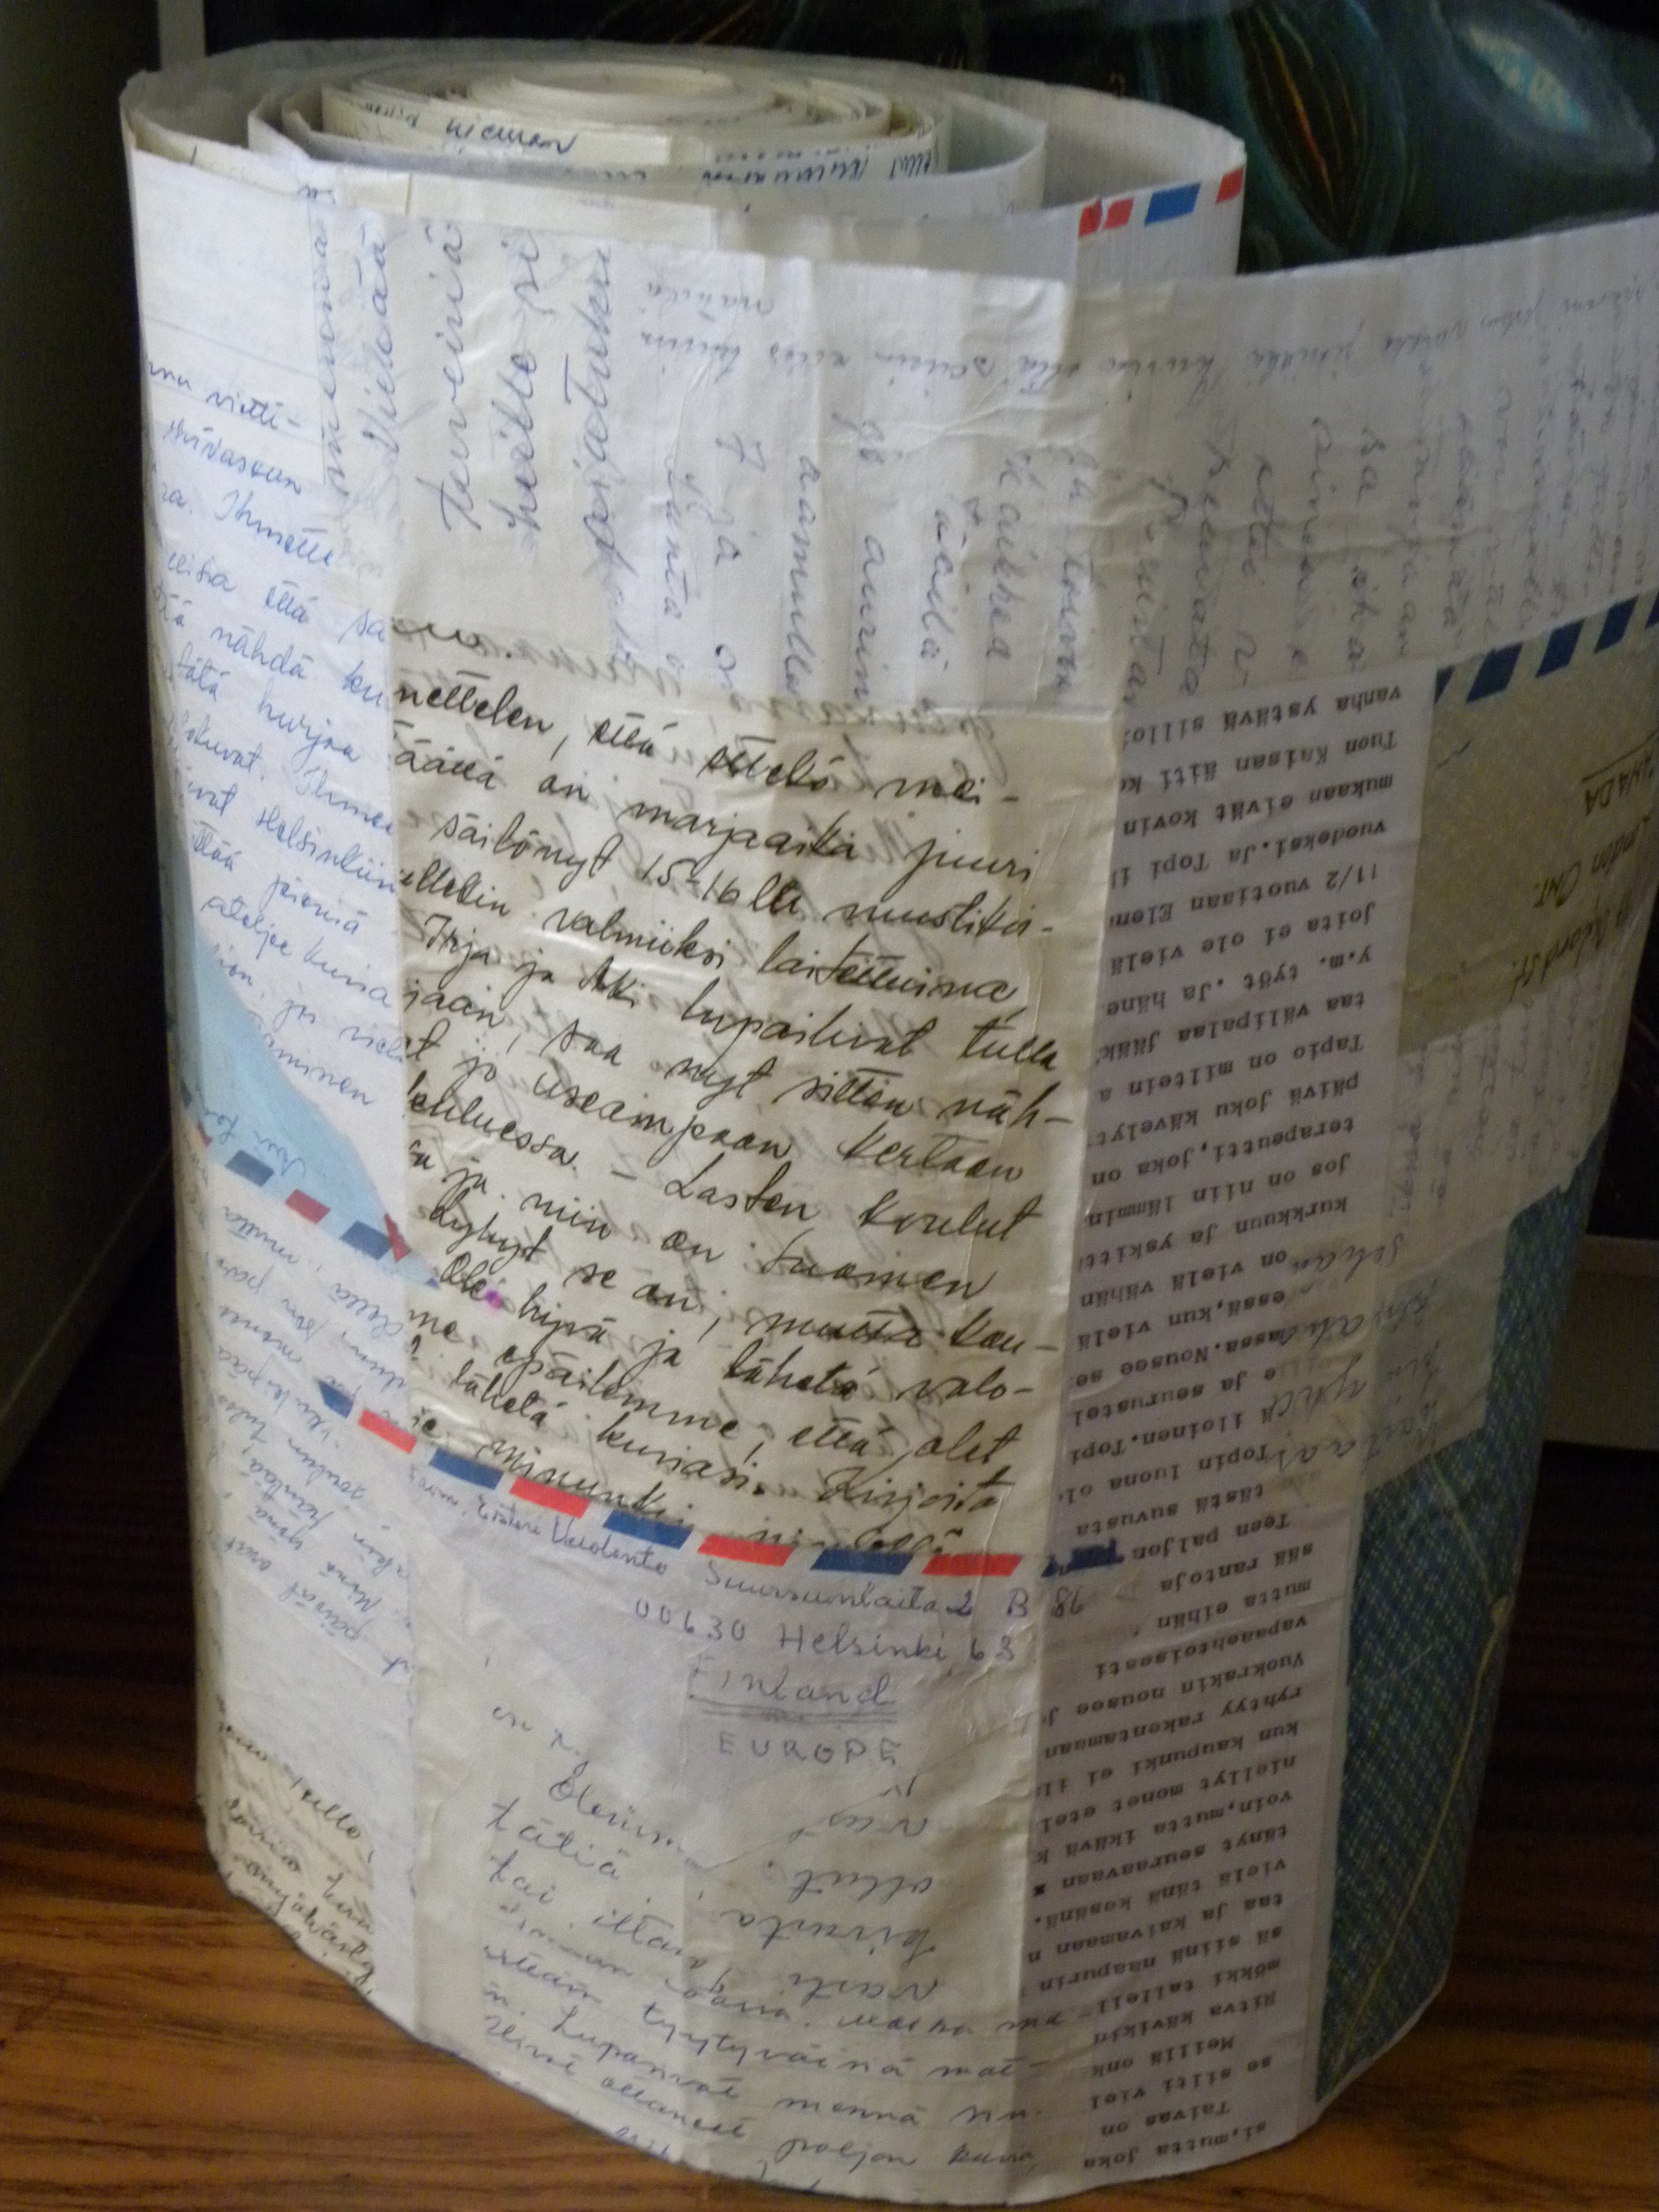
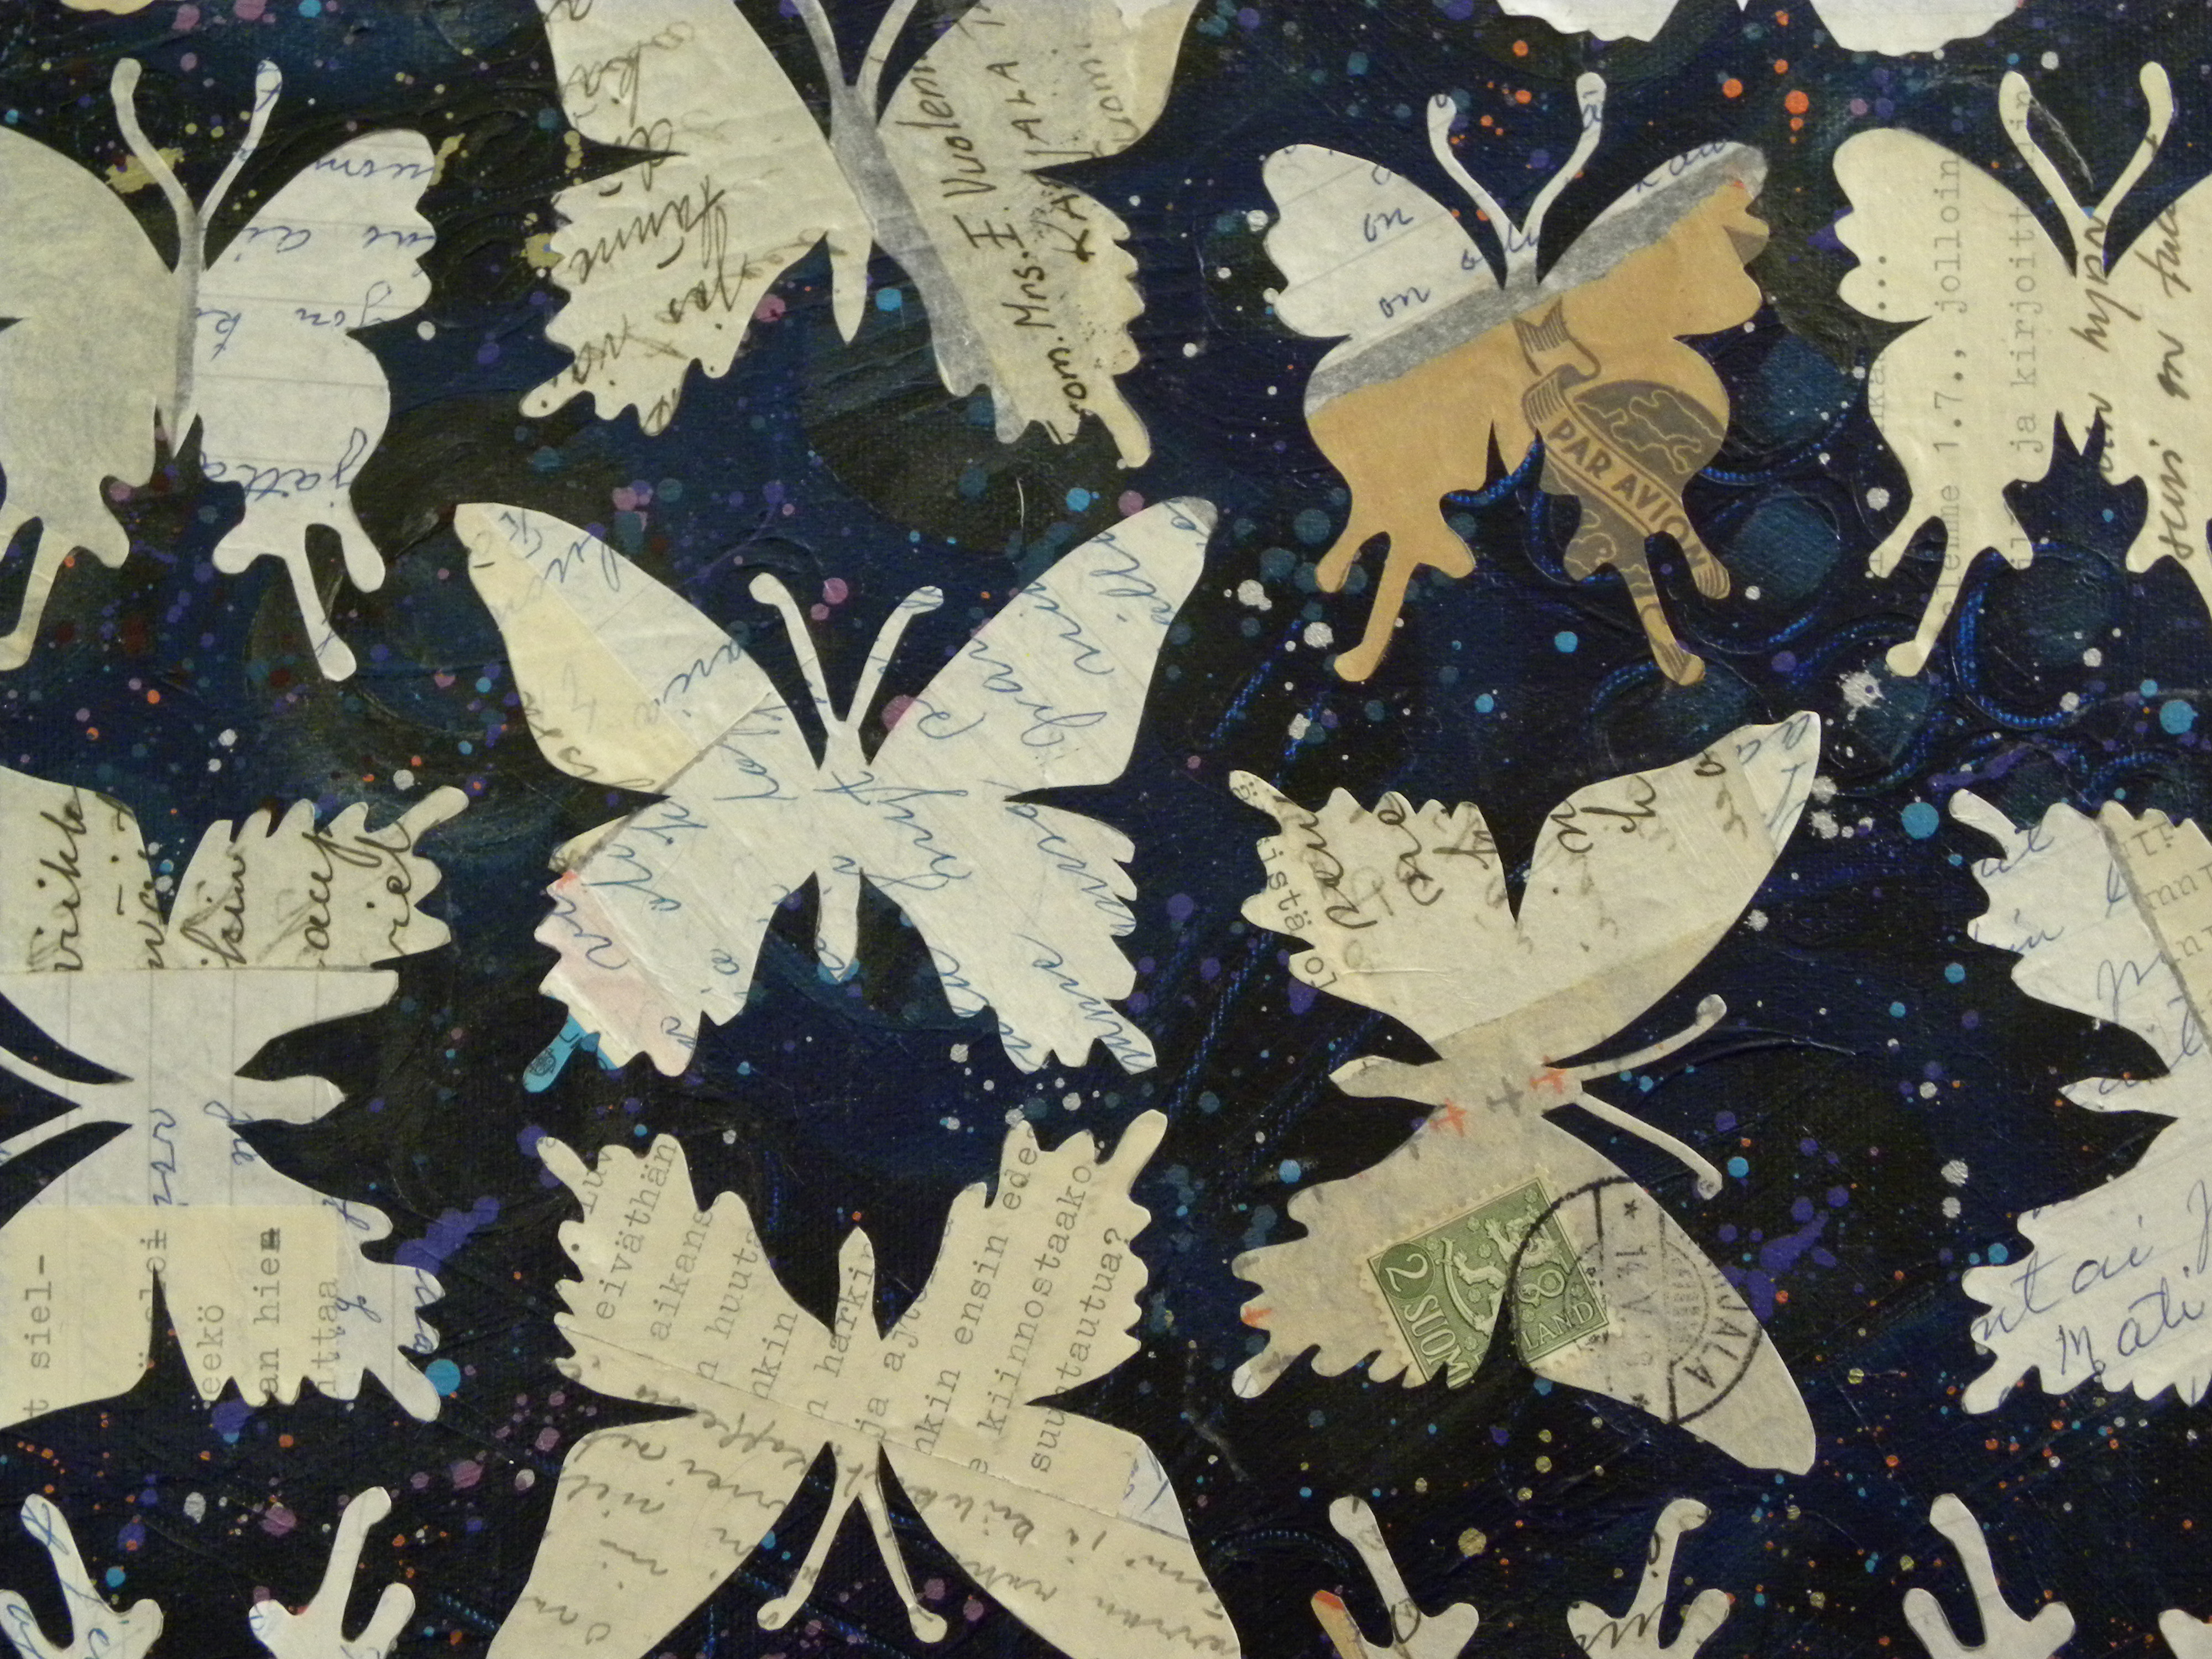
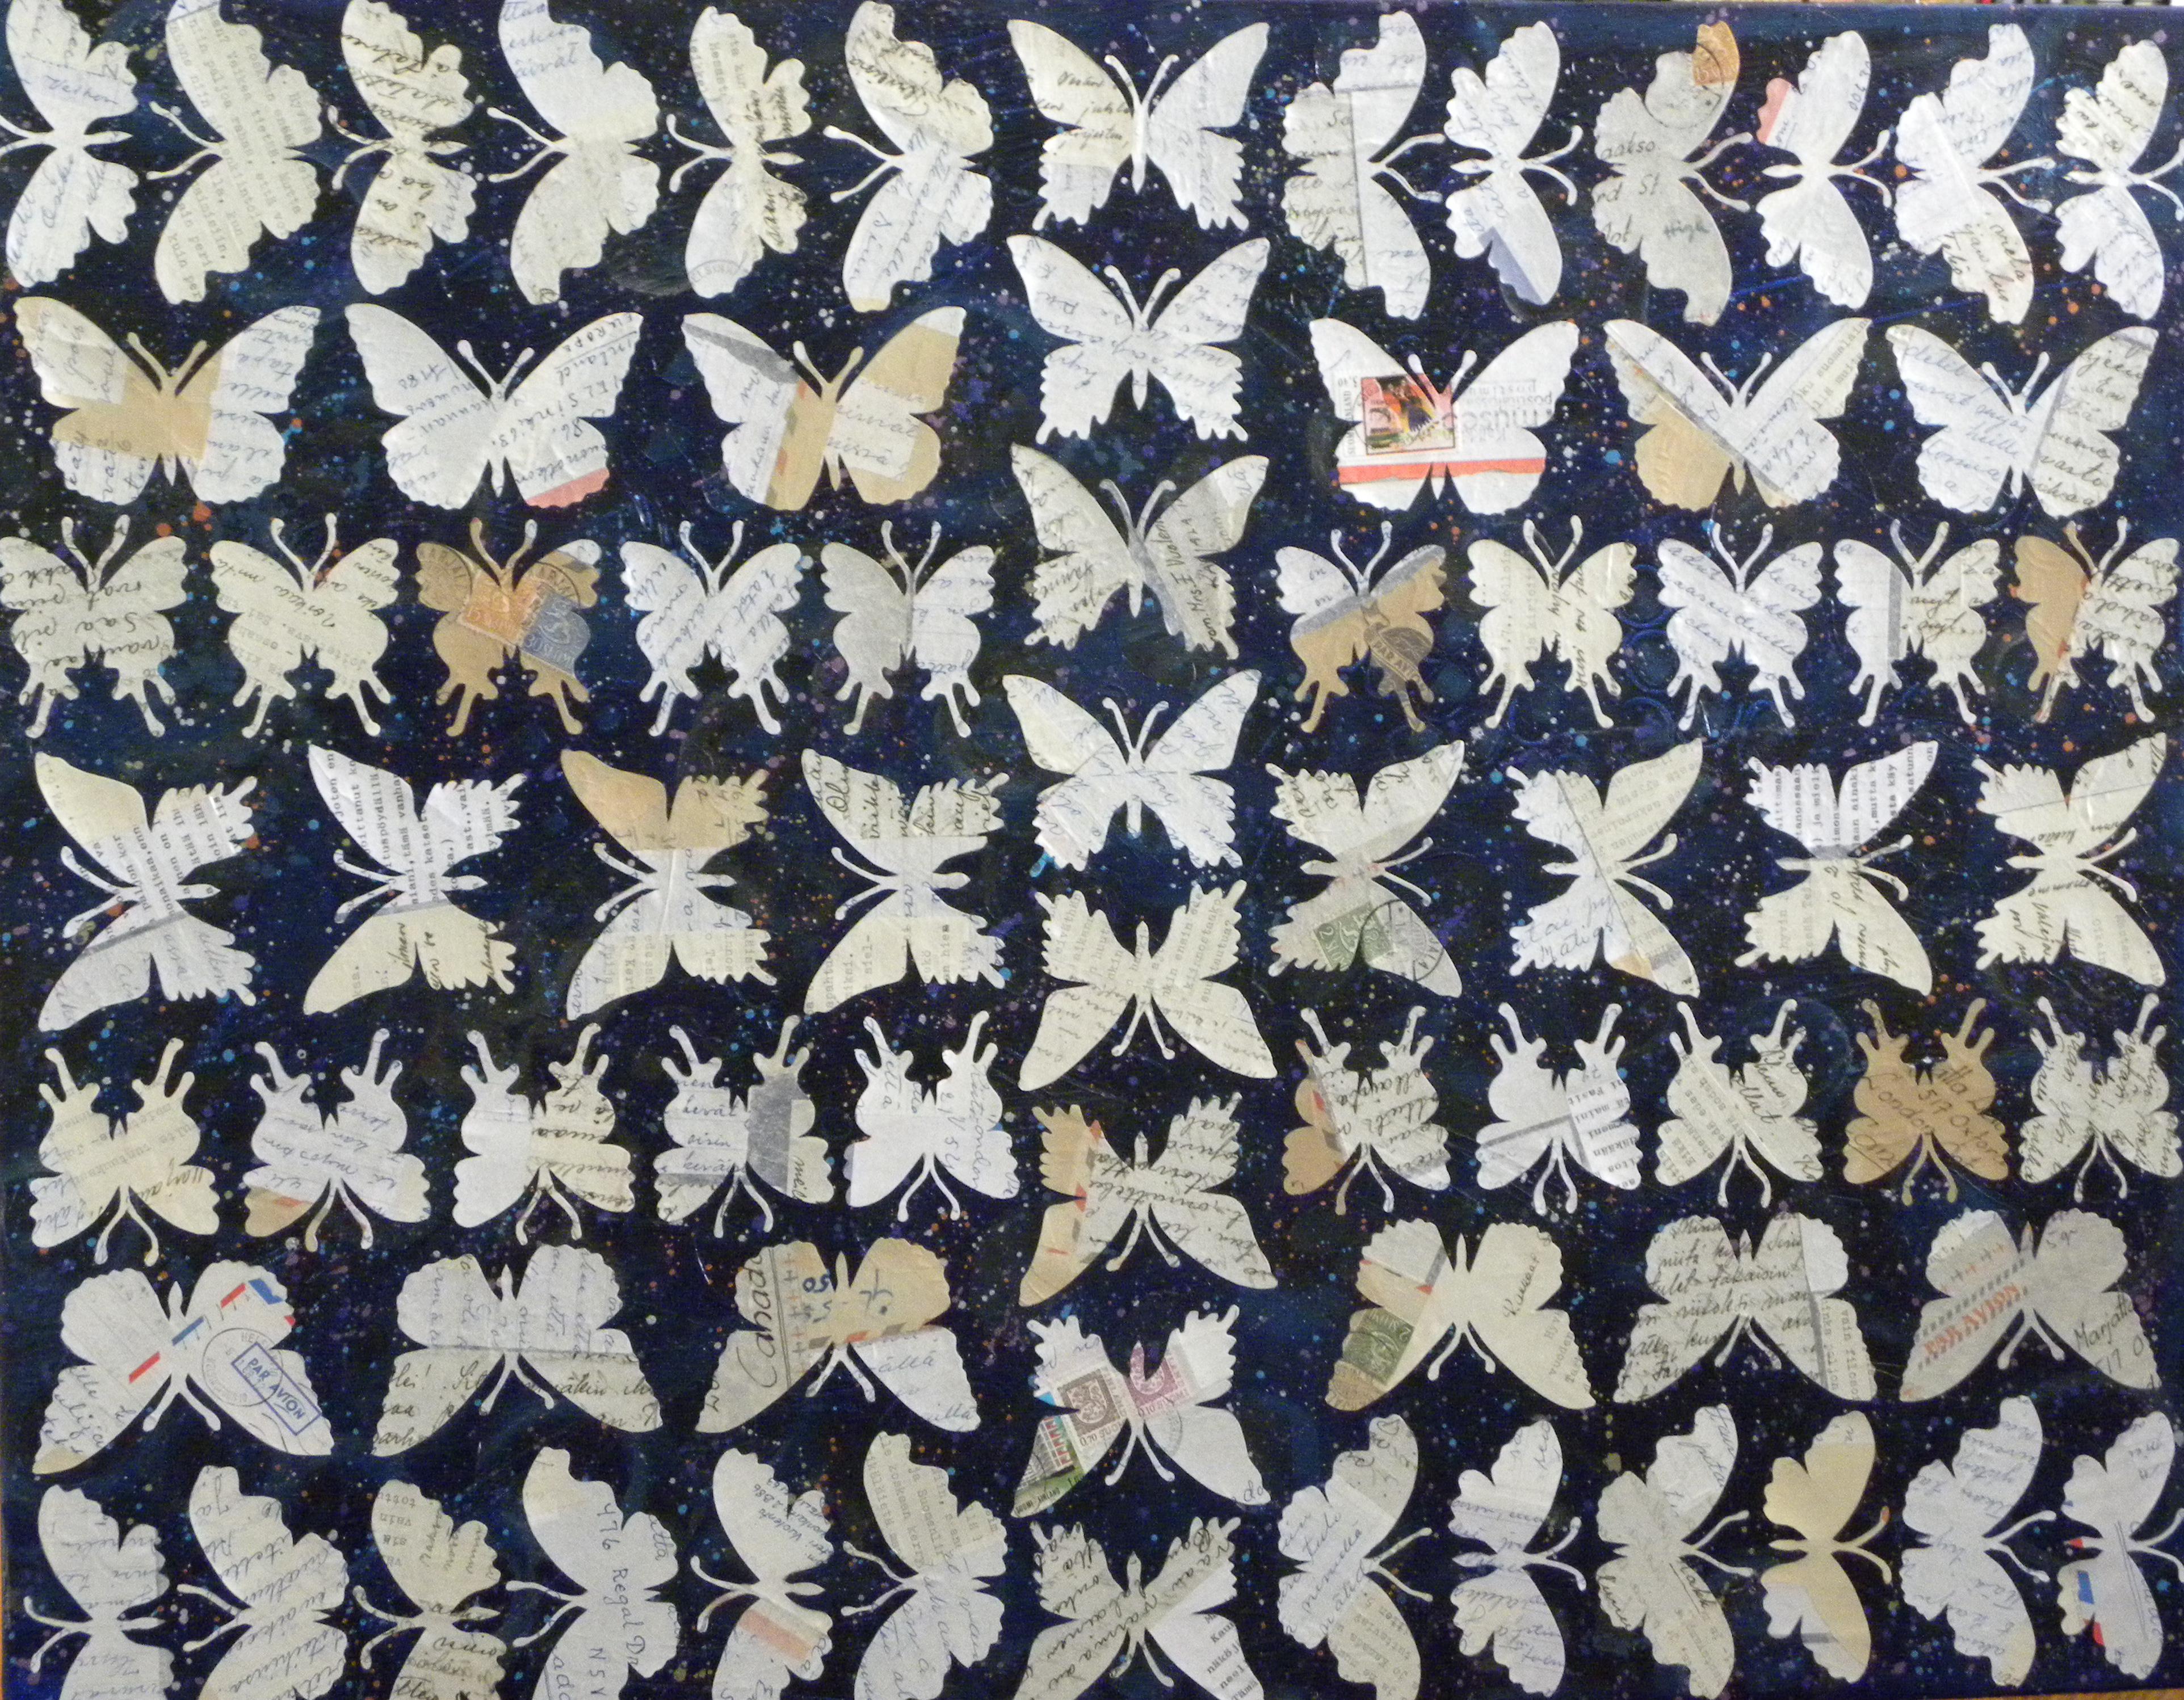
Butterfly letters

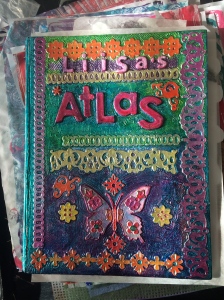
Altered book cover idea
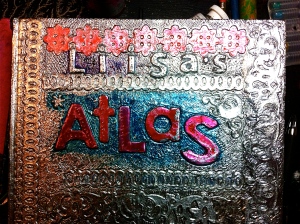
The finished front & back covers:
 |
 |
 Step 1: glue whatever thin cardboard decorative elements you want to the covers of
your book (I use acrylic medium for all the gluing in this project)
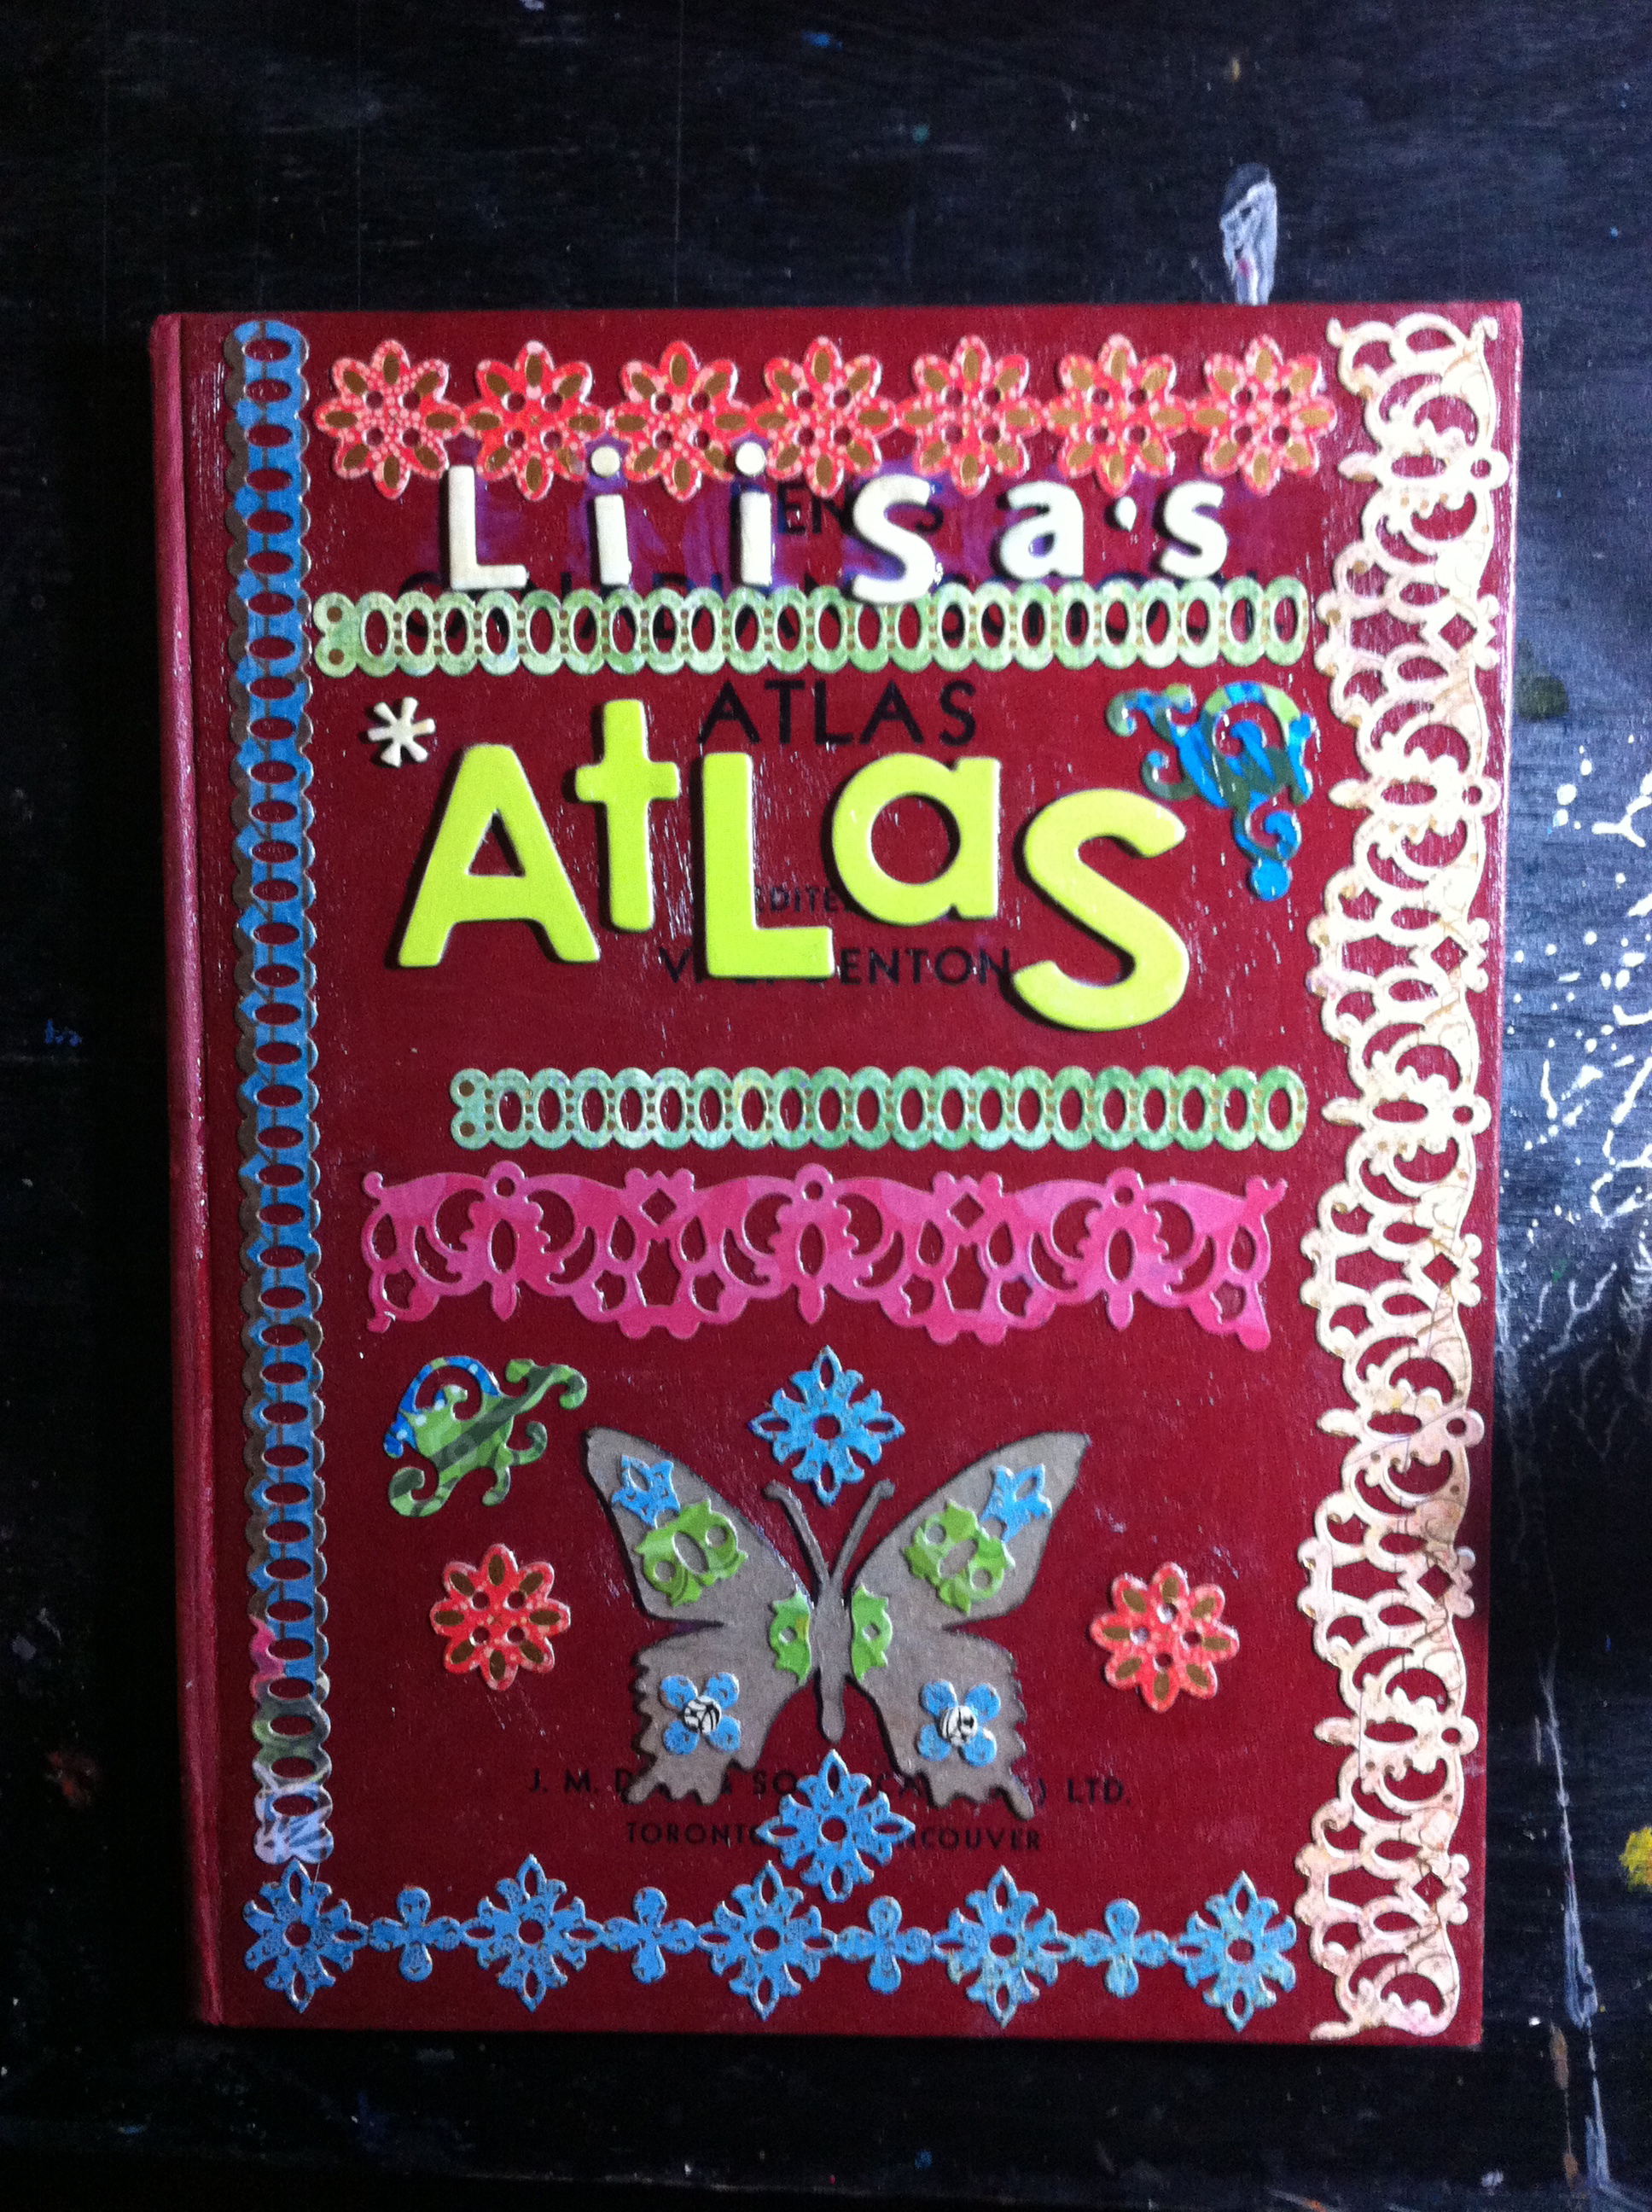 |
Step 2: glue heavy duty aluminum foil over the cover (I did it in pieces as it was too difficult to do the whole cover at once), and with an embossing tool gently press the foil into the decorative elements so you can see a crisp outline of the designs (do this while the acrylic medium is still wet).
 |
Step 3: before the acrylic medium dries you can use a blunt tipped tool to add lines and textures in the flat areas around your decorative elements. Once you’re happy with it, add another coat of acrylic medium (this step is important so the ink adheres well to the foil).
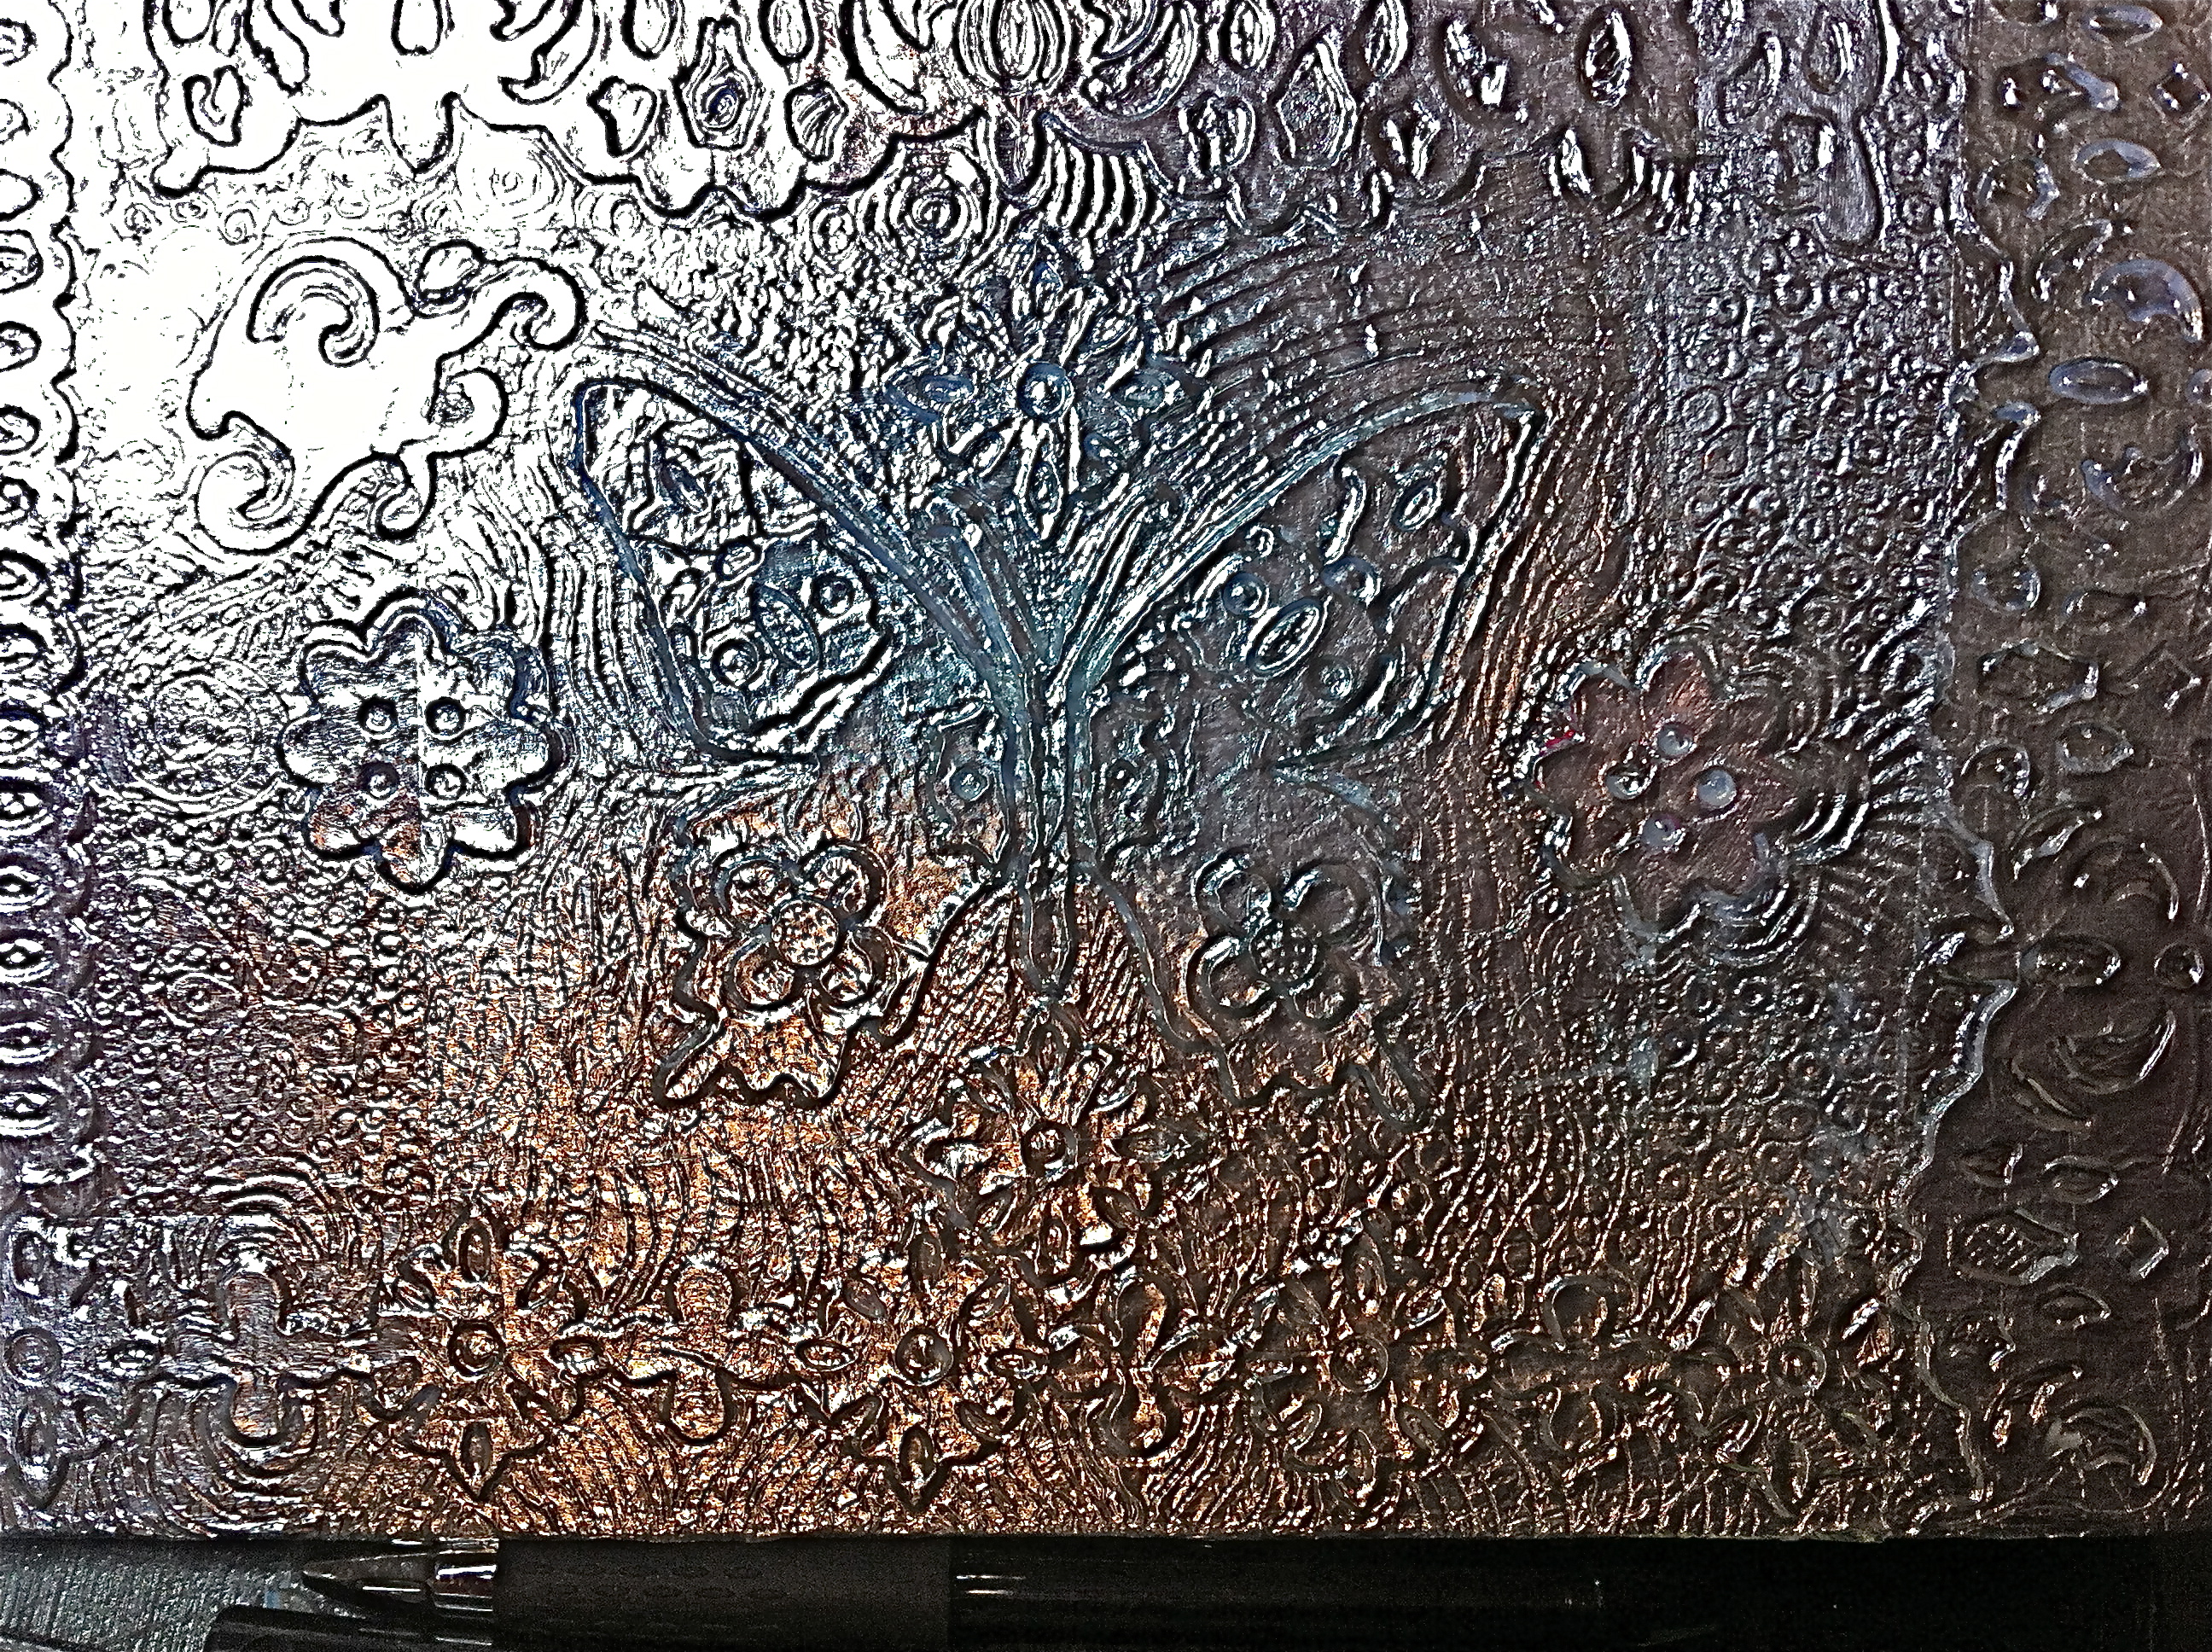 |
Step 4: paint your cover with a transparent ink (that is waterproof & lightfast, like Dr. Ph. Martin’s for example) – this takes time to add many layers of ink if you want intense colours. When you’re done, coat the whole thing with some layers of gloss medium to make a durable finish. Now you have a unique cover for your altered book!
 |
Shadows
Distracted by the beautiful shadows this wonderful sunshine is creating on my studio table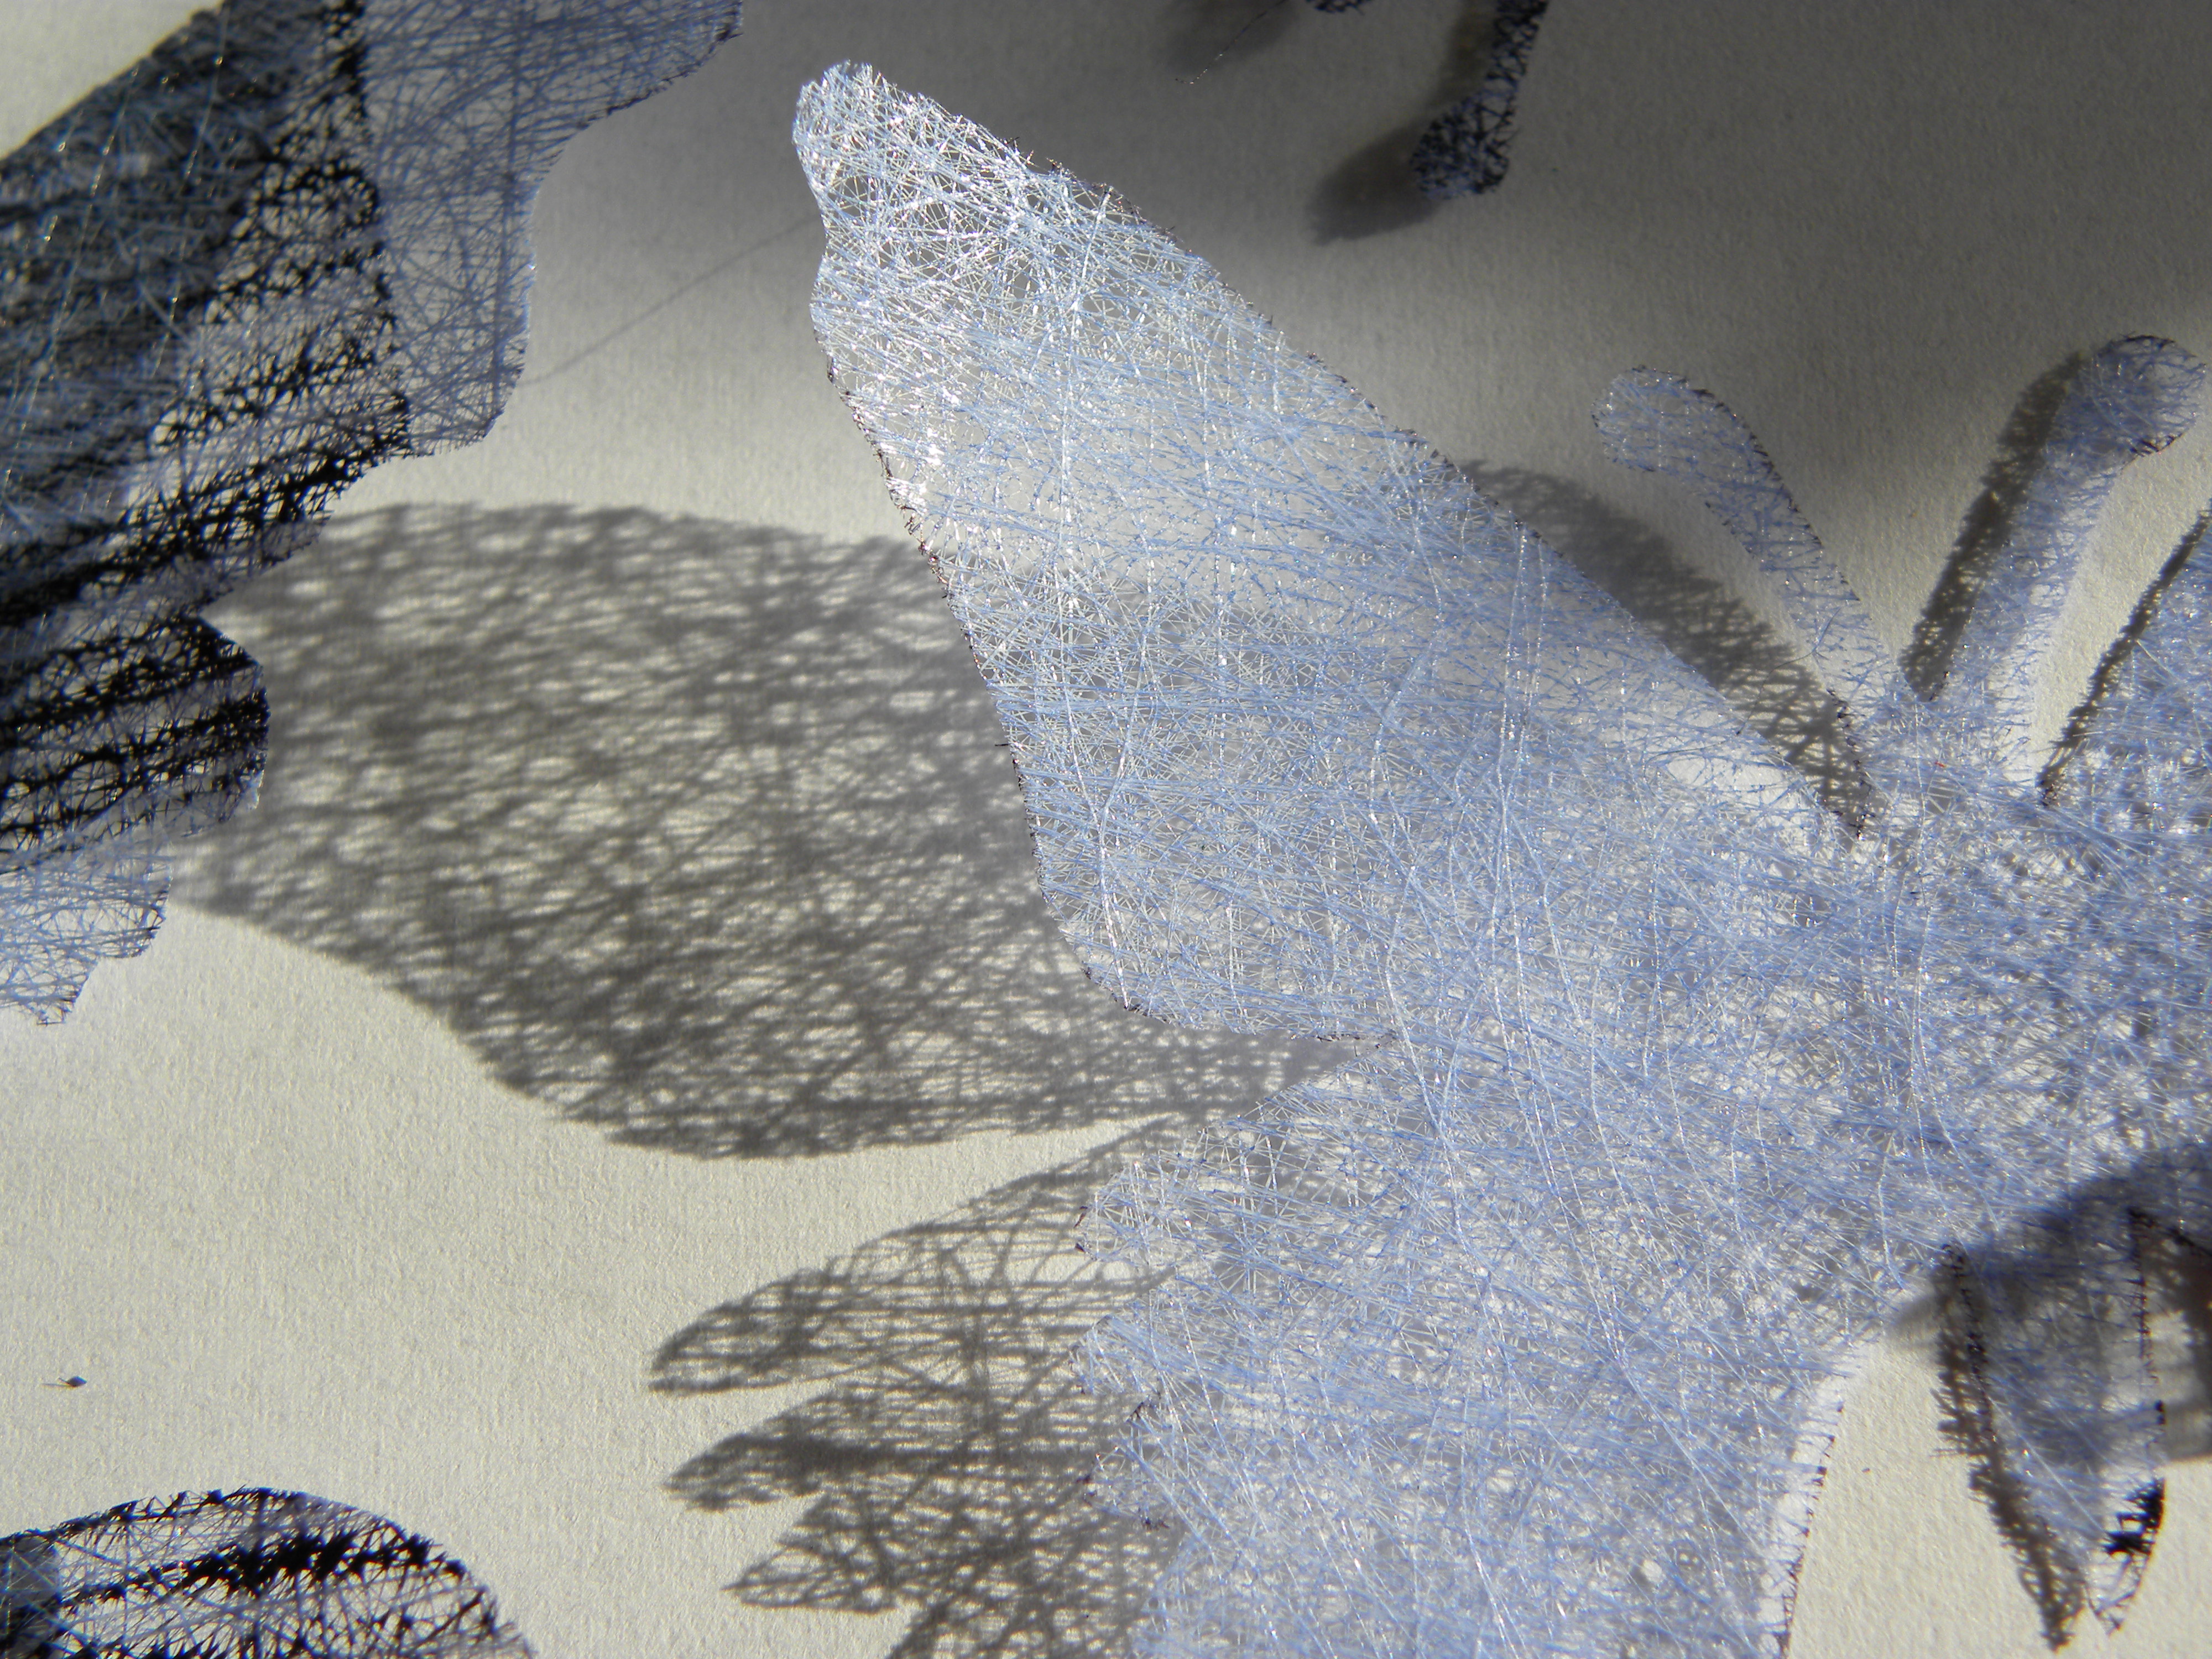


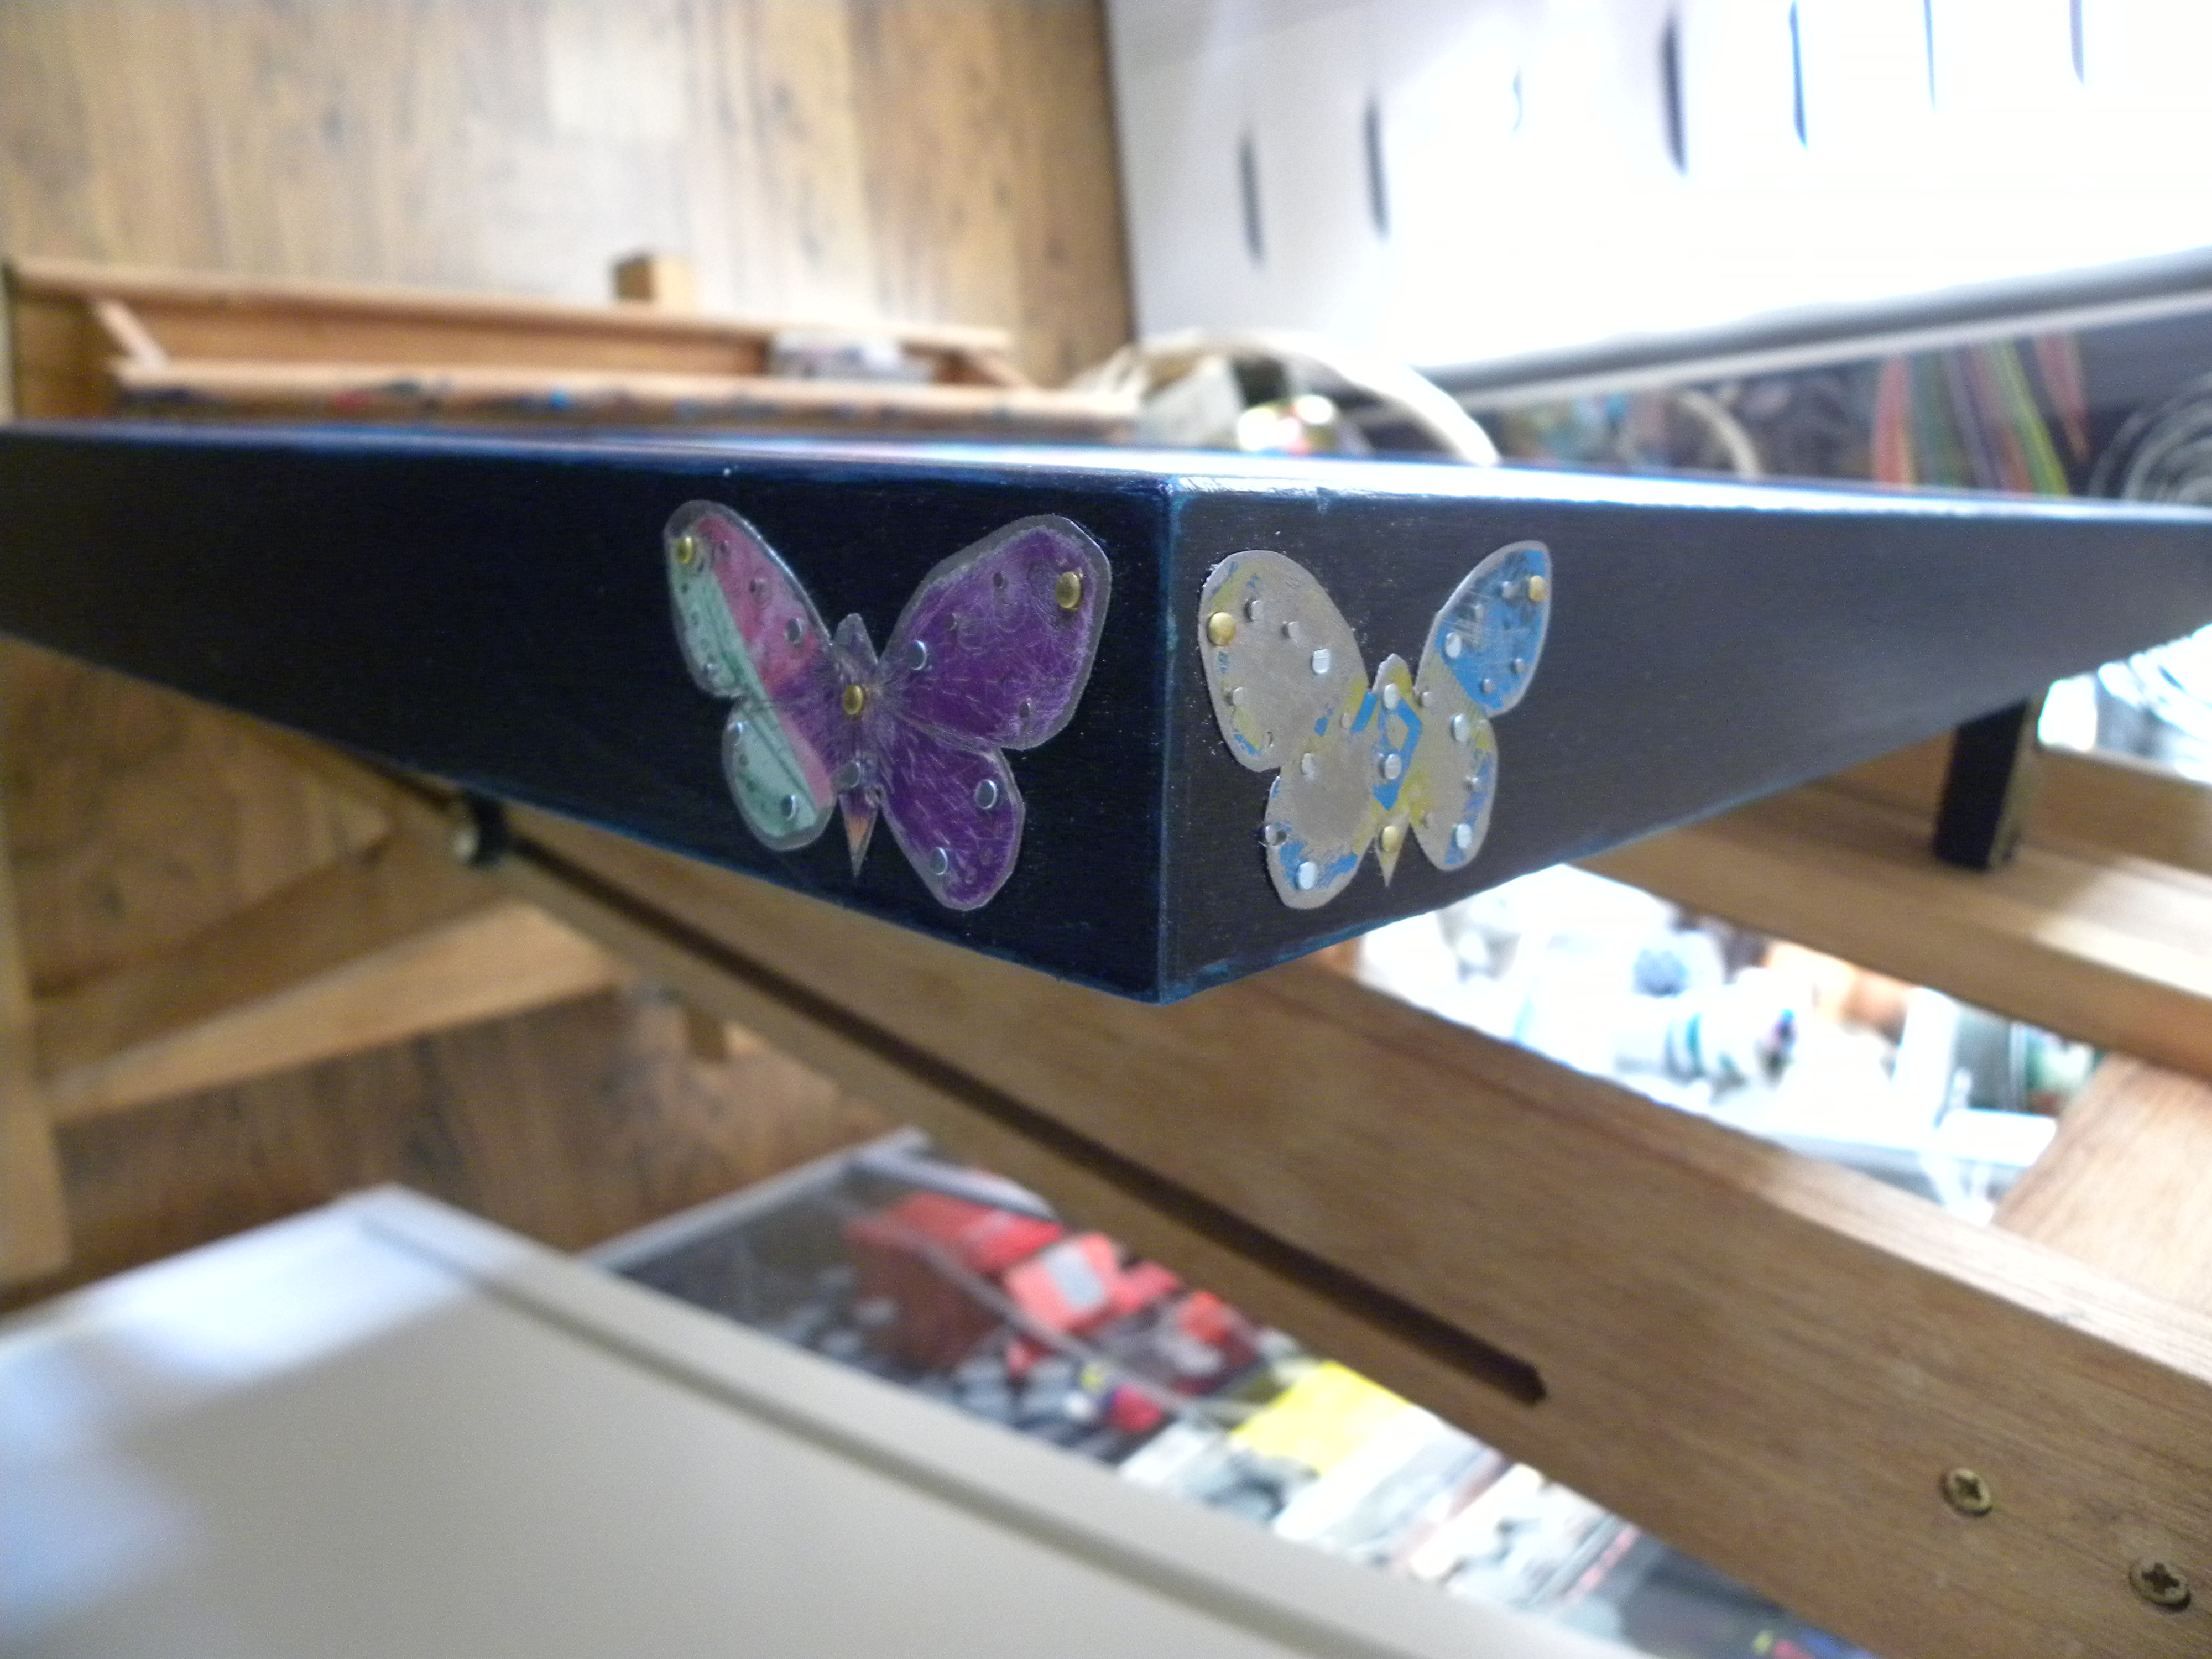
Framing
It’s taken me a long time to figure out how I want to frame these butterfly canvases. This is my current experiment – I had a raw wood frame custom made through Opus, I sealed it and painted it, and now I’m attaching the tin butterflies I made. Next will come a spray varnish finish.

Learning curve
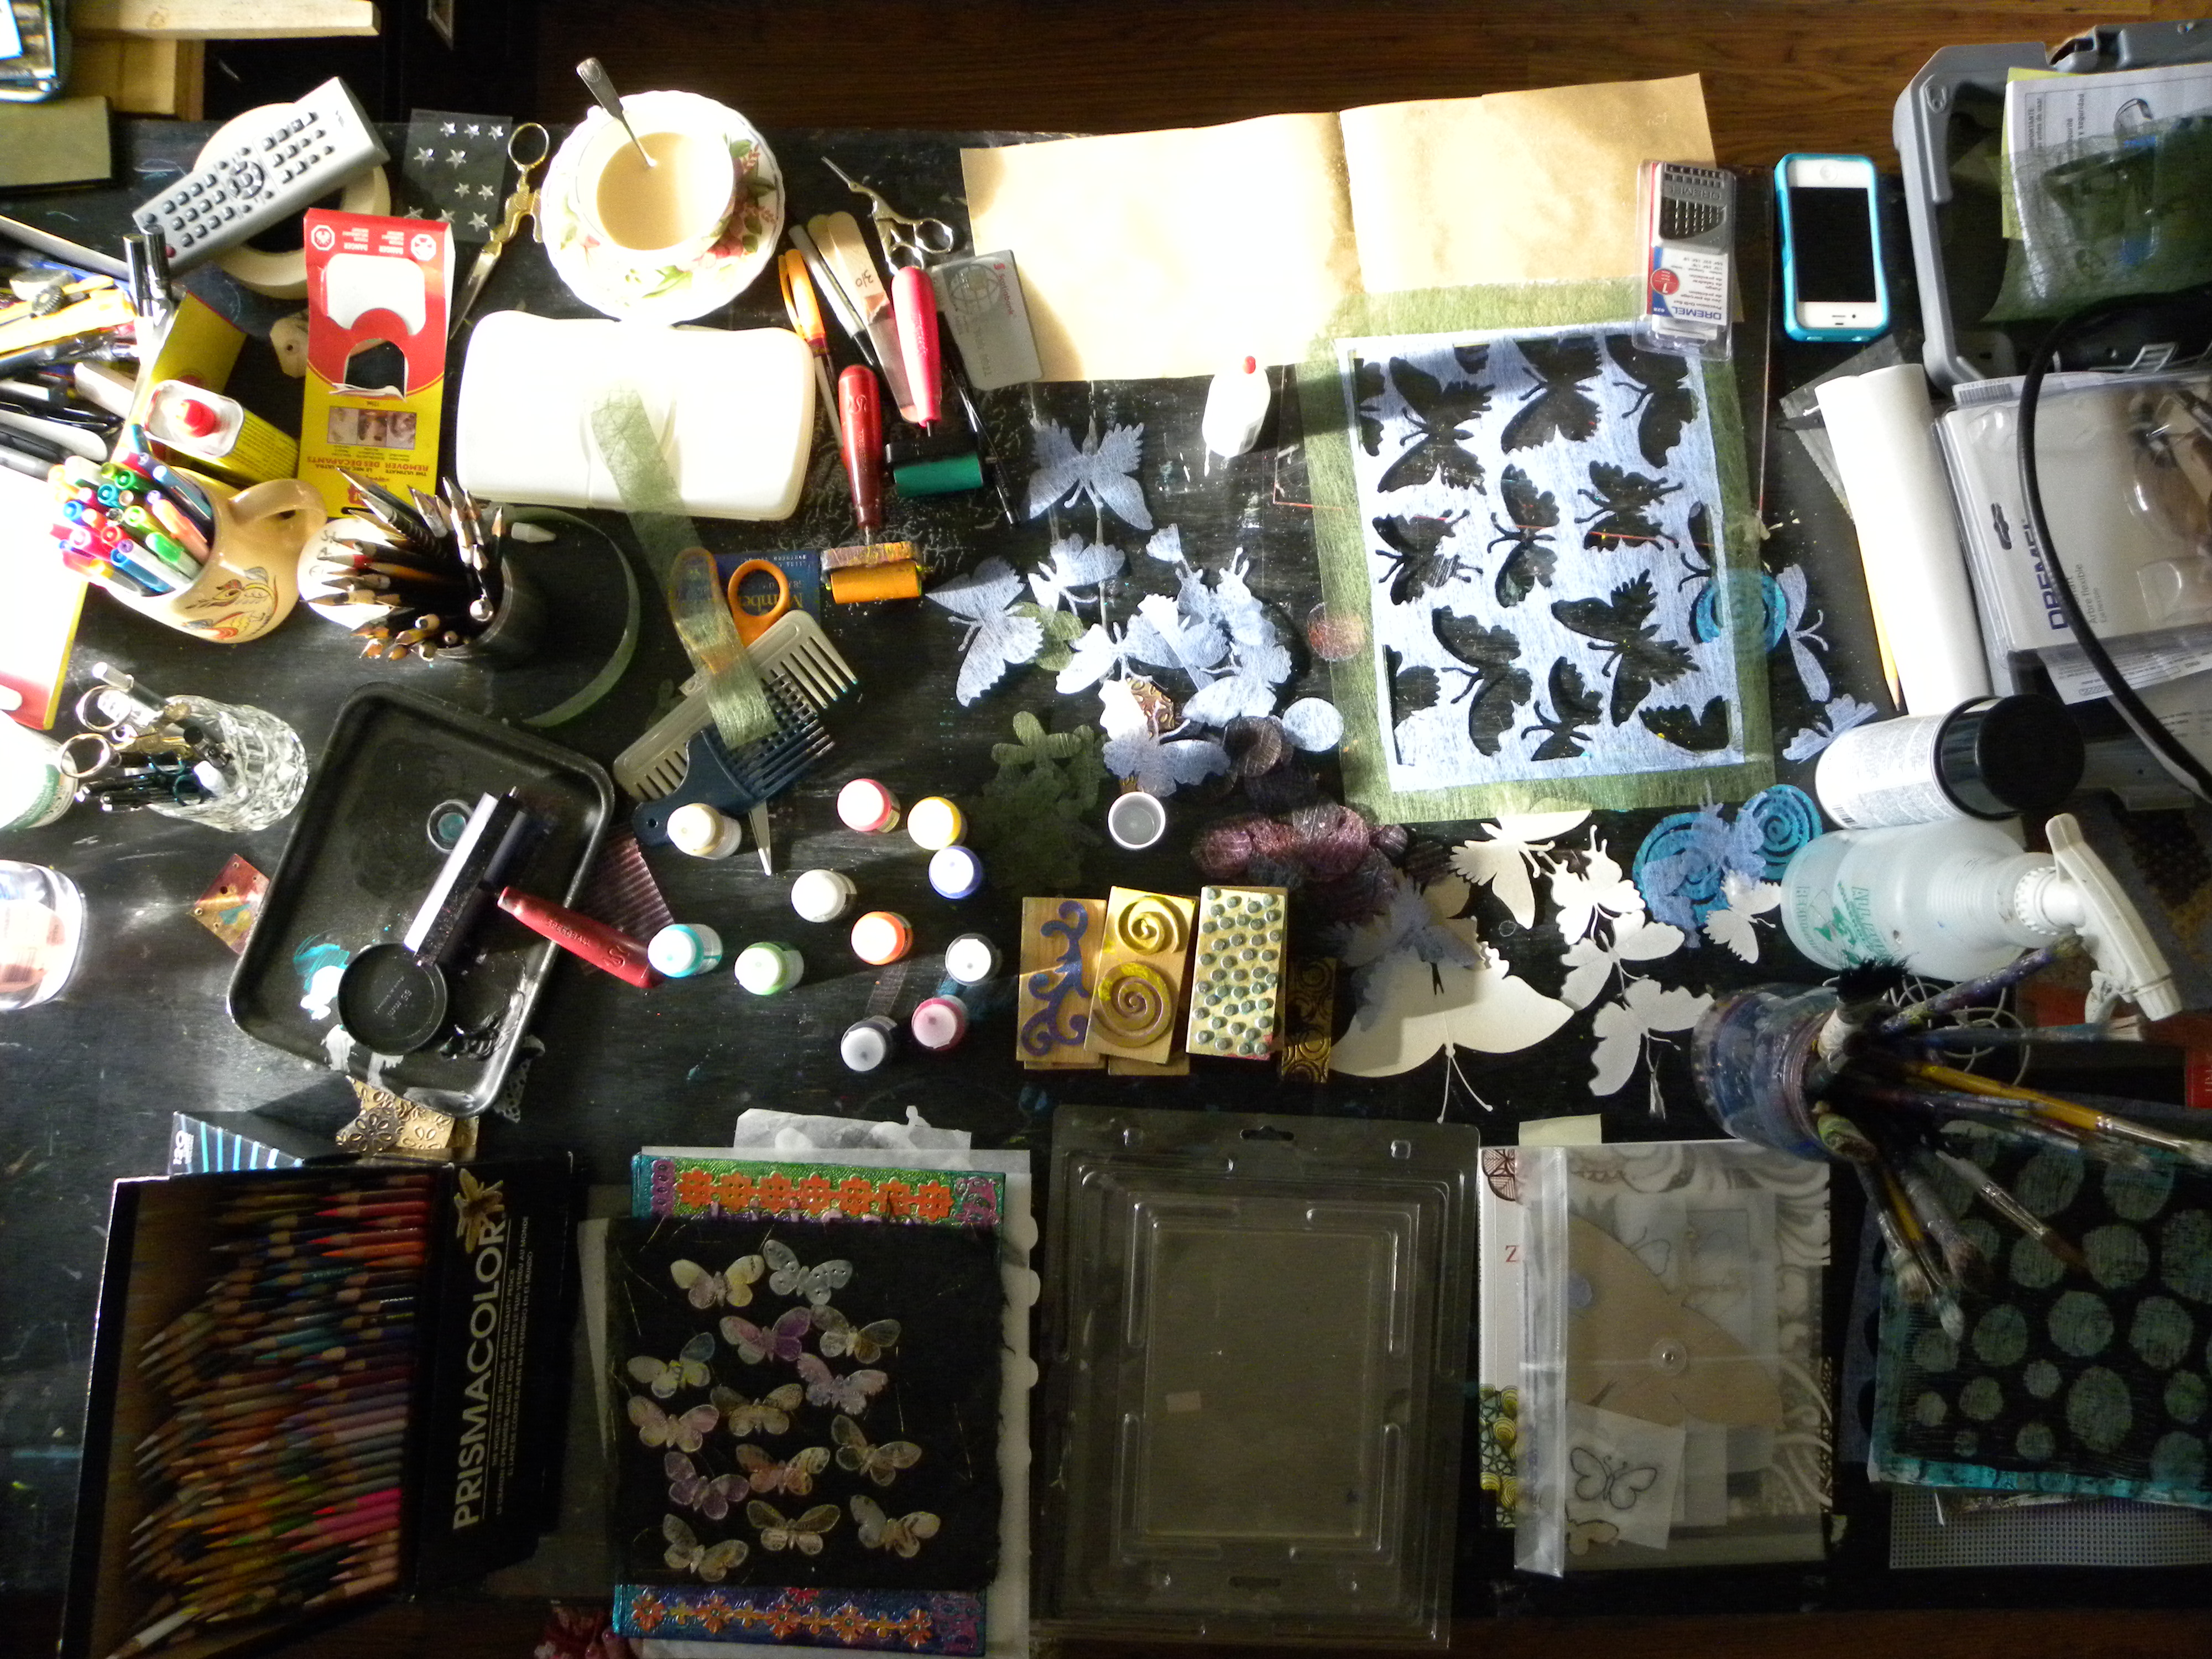 This week I’m learning about using Gelli Plates for monoprinting, and using my new Dremel rotary tool to attach handmade metal butterflies to my custom made frame…
 Here’s some of the butterflies I’m making from old tin containers from tea and chocolate and cookies and stuff,
and here’s a detail from a print – I’m learning all about making textures and layers with the Gelli Plates, lots of fun!
Sunday mornings
 Love having a slow start to a Sunday morning in my studio
